- Home /
- Resources /
- Learning center /
- Planning your mult...
Planning your multi server bare metal deployment
Learn how to strategically deploy multiple servers on Equinix Metal, including steps for selecting the right hardware, configuring operating systems, and designing an effective network for scalability and efficiency.

On this page
Equinix Metal is a quick and easy way to deploy infrastructure and applications without worrying about things that can traditionally be time-consuming and expensive, like power, cooling, racking and cabling. Best of all, pricing is predictable to help you ensure you are meeting your business requirements from day one.
Equinix Metal is just that – bare metal. There are no real limits as to what you can deploy on it. There are a number of operating systems available during deployment time or you can bring your own. (Some even deploy in 60 seconds!)
There are many reasons why you would want to deploy multiple servers in the same metro, from high-performance applications, to virtualized environments, to hybrid cloud, to testing environments, to data center evacuation to cloud repatriation.
This guide will walk you through the process to deploy multiple servers in the same Equinix Metal Metro.
If you've read our Planning your first deployment guide, then you know that Equinix Metal is one of the simplest ways to get your hands on bare metal hardware, no matter what your use case. However, it's equally easy to get started deploying multiple servers on Equinix Metal, too.
Before You Deploy
For a quick and smooth deployment, there are a few things to consider before you get started:
- Which Metro do you want to deploy in?
- What Hardware and operating systems do you want to use?
- What will be your network design? How will your servers communicate with each other?
By doing this, you will be ready to deploy bare metal servers up and running in no time, so you can begin to layer applications on top. You will also have a good handle on the predictable pricing you can expect from Equinix metal every month.
As we did in the Planning your first deployment guide, let's walk through these steps to prepare for our multi-server deployment.
- Create a plan.
- Choose a network design for the VLAN.
- Decide on your hardware requirements and which operating system you will use.
- Apply the VLAN to the serevers.
Now we are going to take a closer look at each one of these in our sample deployment below.
Deploying Multiple Equinix Metal Servers in the same Metro
Let’s take a look at what a sample multi-server deployment looks like.
Create a Plan
As your use cases and requirements get more complex it becomes more important to plan each stage of the deployment process.
Since we are going to deploy two servers we'll need to ensure they can communicate with each other. That means we'll need to consider installing additional software and designing our network around our requirements.
Networking Design - Create a VLAN
The most important thing before we start to deploy our servers is to decide on the network design.
In this sample, we will change my networking to Hybrid Bonded Mode, and our servers will communicate with each other via Layer 2. Things go more smoothly if we do a few tasks before we deploy our servers.
NOTE: Equinix recommends using IP addresses in the 192.168.x.x range for servers on your VLAN as the 10.0.x.x range is used internally by Equinix Metal. You can read more about this in the Hybrid Bonded Mode guide.
First, we need to first add a VLAN. In the left navigation pane, click Layer 2 VLAN under Networking.
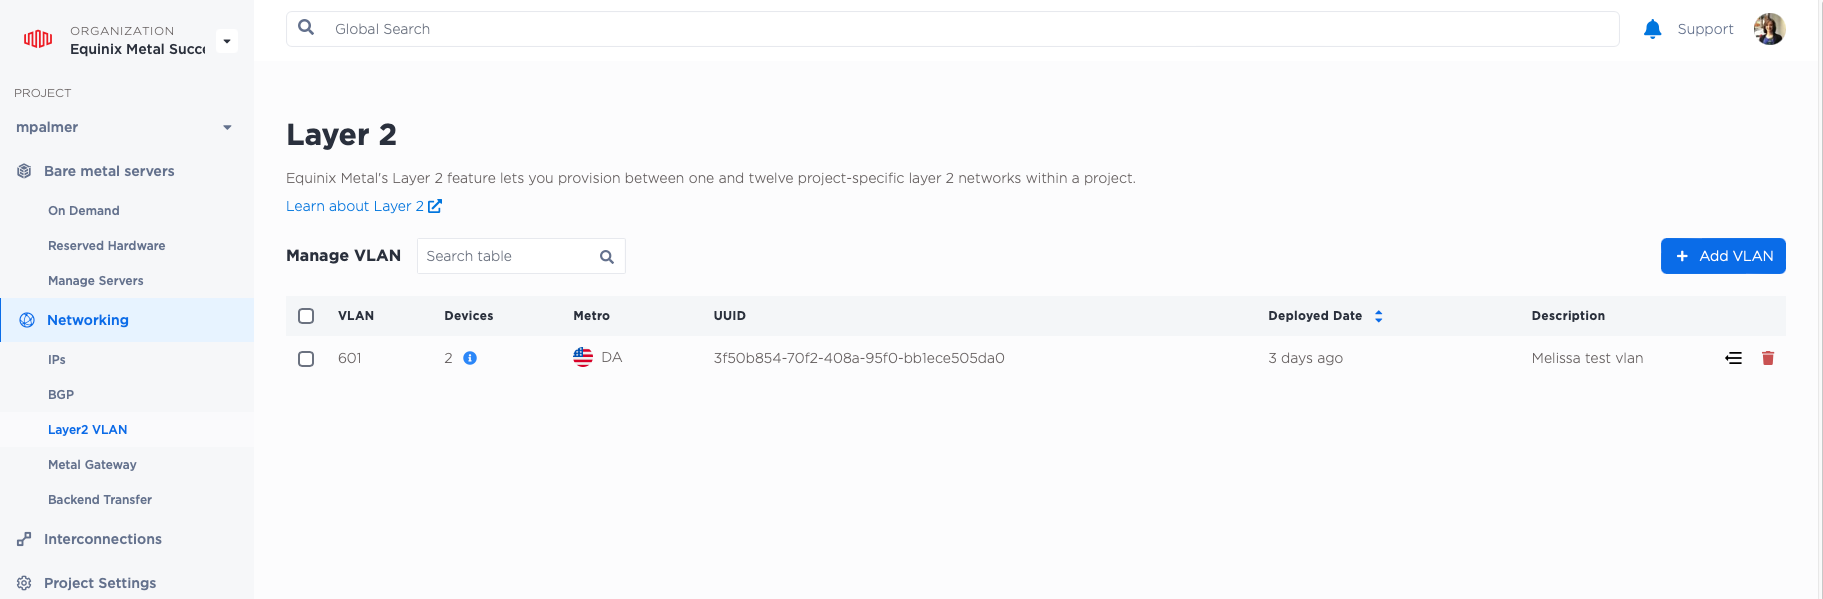
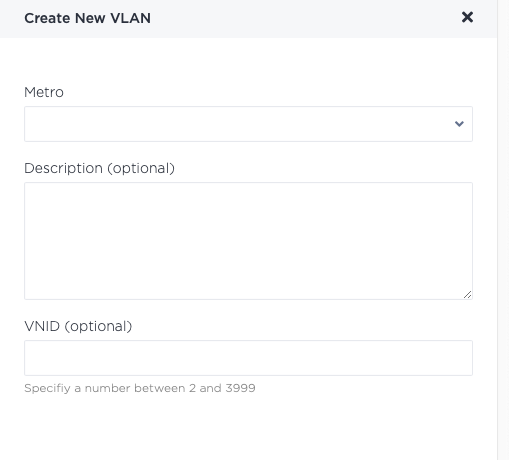
Then click + Add VLAN, and select your Metro. You may also add a Description and VLAN ID. Click the blue Add VLAN button on the bottom right when you are finished.
Now you are ready to deploy your bare metal servers.
Hardware Requirements, Operating Systems
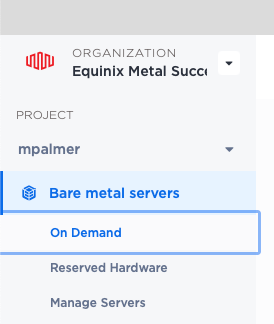
To deploy servers, start by clicking Bare metal servers in the left navigation pane, and selecting On Demand.
As in our first guide, you'll need to decide a few things to deploy your servers such as:
- Metro (although you selected a Metro when you created the VLAN, you need to ensure your servers are deployed in the same Metro)
- Hardware configuration
- Operating System
- Number of servers
There is not much difference in these options when deploying a single server or multiple servers. You can see a full example of a server deployment in our first guide.
At the Select number of servers section, click the + button to begin adding multiple servers to the same metro.
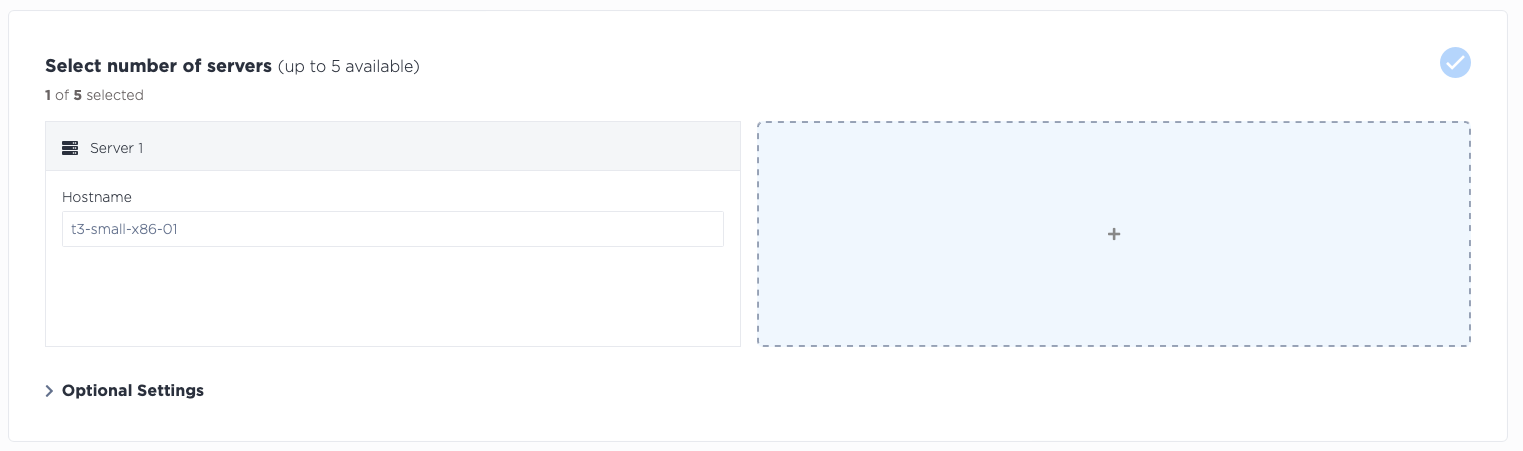
Here you can change the host names of each server, too.

Then, you will see a summary, and you can click the Deploy Now button in the lower-right corner.
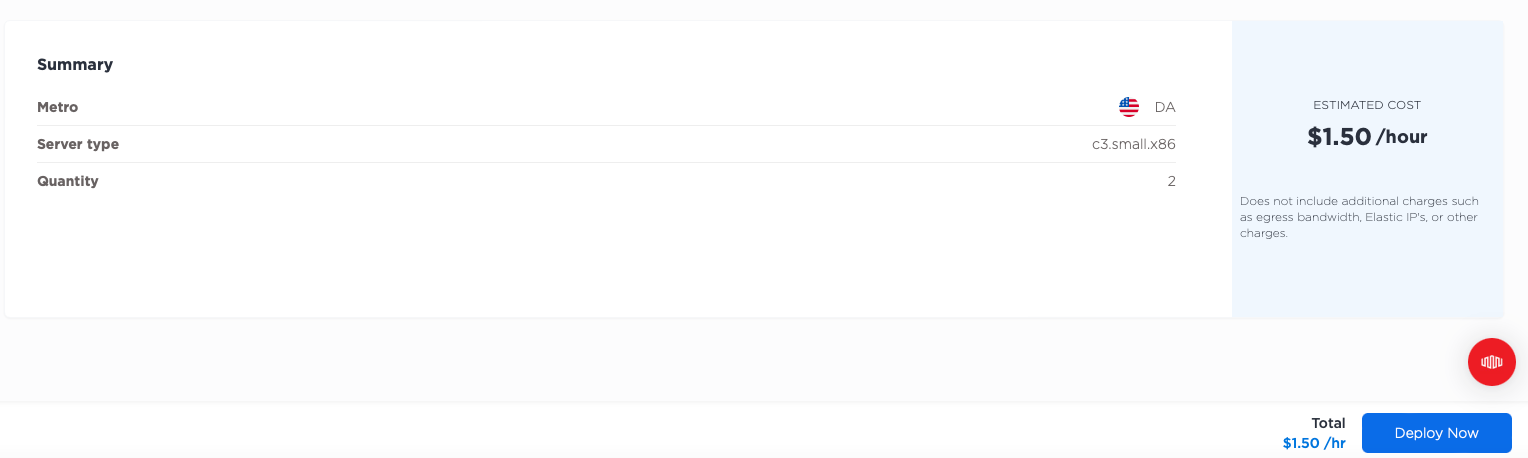
After you click the Deploy Now button, you will see a message that your server has been deployed and you will be brought to the Manage Servers screen where you can view the status.
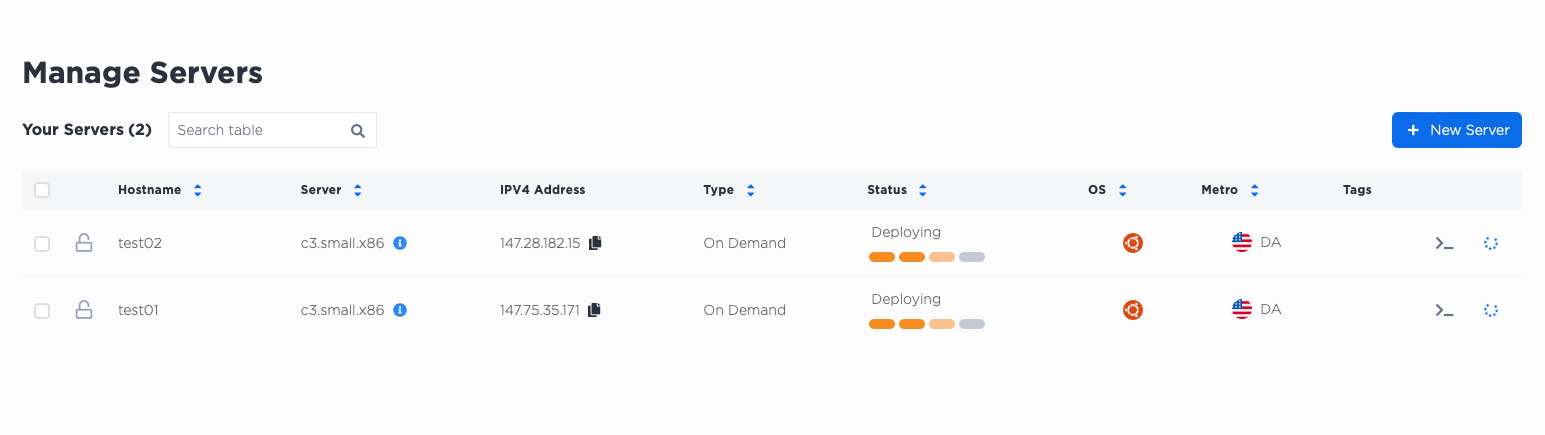
Once the deployment has finished, the status will be changed to Running.
Now we can make the necessary changes we need for the networking configuration we have chosen.
Networking Design - Apply the VLAN to your servers
We want our servers to be able to communicate with each other. To do this we'll use the VLAN we created before. You'll need to perform the following steps for each server you have deployed.
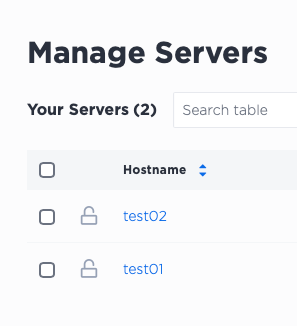
Click on a hostname in blue from the Manage Servers screen. We will start with test01.
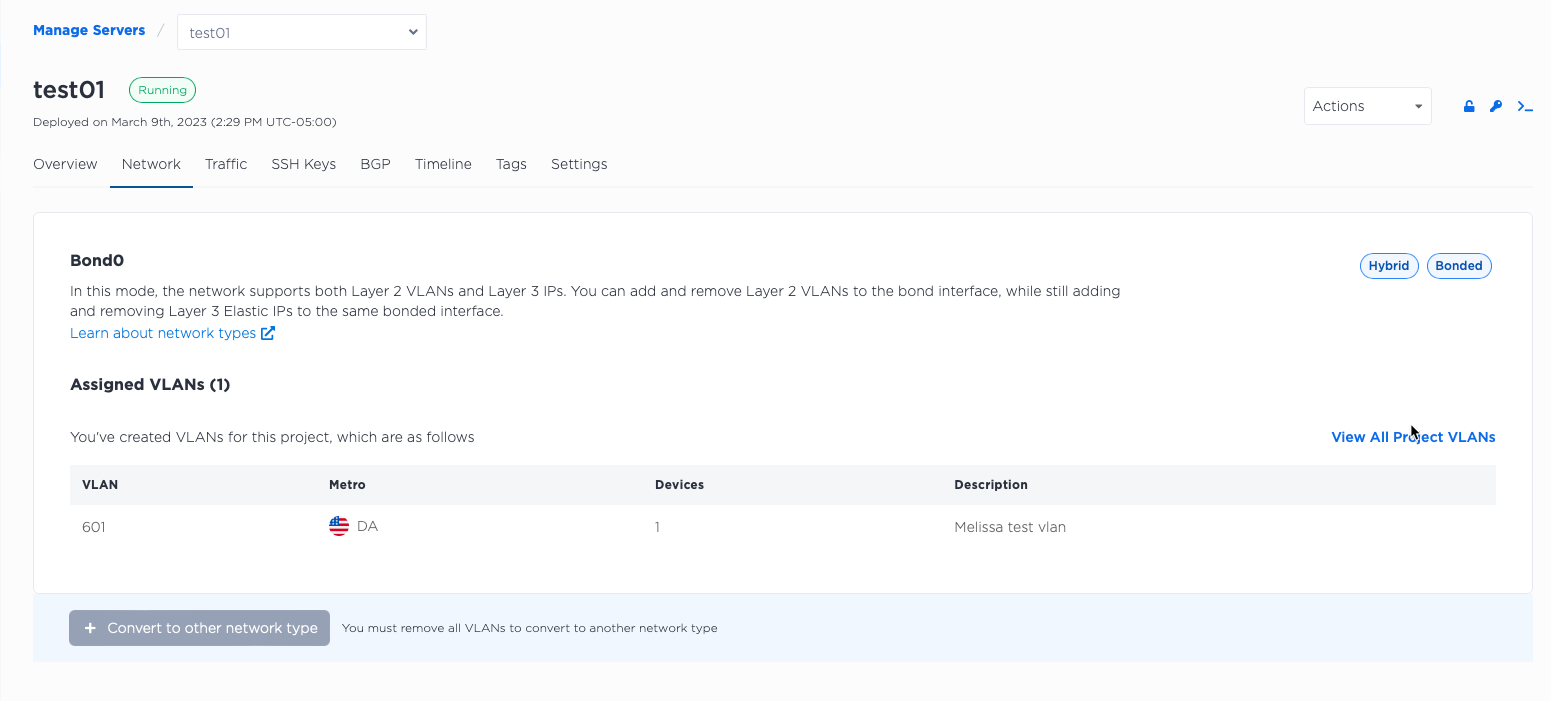
Click Network after the Manage Servers screen loads, and then click + Convert to other network type.
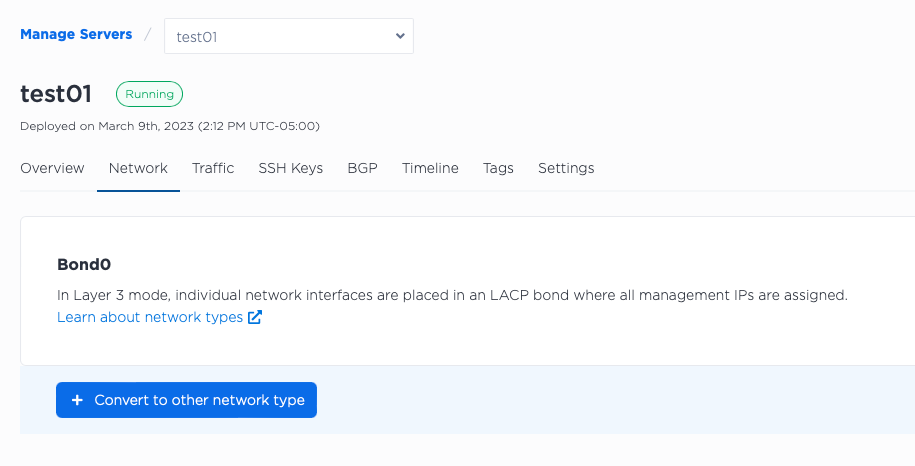
Here you can choose the network type you will use. For this example, we will use the Hybrid Bonded network type. Click Hybrid. You will see the VLAN you previously created listed. If you have multiple VLANs, select the one you would like to use from the drop-down list. Then, click the Convert to Hybrid button to proceed.

You will then see the networking information updated on the Manage Servers screen.
Repeat this process for the rest of the servers you deployed.
Now we're ready to configure the networking on each bare metal server. To do this, we will need to SSH to each bare metal server, and configure the network interfaces.
NOTE: Need help creating a SSH key? Check out our first guide or refer to the SSH Key Documentation.
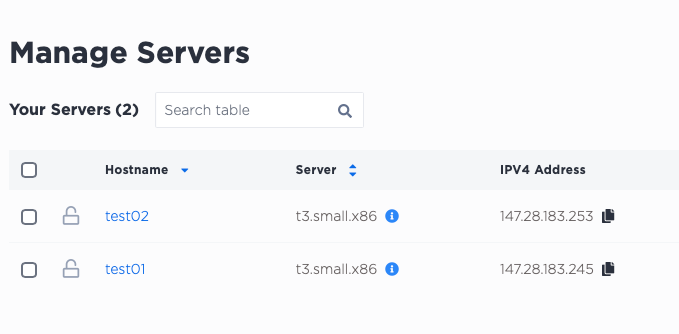
You can find the IP address for your servers in a number of places. One of the easiest places is the Manage Server screen, where you can see all of the IPs in one place, and copy them by using the icon next to the IP address.
The next step is to configure your server's network interfaces with the VLAN details by modifying /etc/network/interfaces. On Ubuntu or Debian it would look like this:
auto bond0.1036
iface bond0.1036 inet static
pre-up sleep 5
address 192.168.100.1
netmask 255.255.255.0
vlan-raw-device bond0
For more detailed instructions on how to configure network interfaces, be sure to take a look at the Hybrid Bonded Mode guide. You can also find additional guides for other networking configurations in the left navigation pane of the Equinix Documentation.
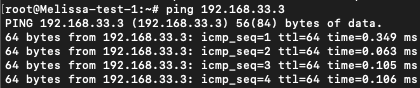
After you have configured the network interfaces on your Metal servers, a quick ping is all you need to test connectivity before you continue the configuration of your Metal environment.
Equinix Metal makes it simple to deploy multiple servers at once. The true key to a smooth deployment is ensuring you understand what network configuration you will be using before you deploy.
After the servers have been deployed, you can change the networking configuration to meet your requirements, so you can begin to layer workloads on top of your bare metal servers.
Key Take-aways
As your use cases and requirements become more complex it's still easier than ever to get started with Equinix Metal. Here are a few key take-aways for you to rememeber the next time you deploy multiple servers in the same metro:
- Plan your deployment ahead of time by determining your hardware, OS and networking configuration.
- The deployment wizard will allow you to quickly and easily deploy multiple bare metal servers in the Metro of your choosing.
- There are a few simple steps to configure your network before you begin to deploy your applications.
Once you have a plan in place, it is simple to get everything up and running quickly.
You may also like
Digger deeper into similar topics in our archives
Configuring BGP with BIRD 1.6 on an Equinix Metal Server
Set up BGP on your Equinix Metal server using BIRD 1.6, covering IP configuration, installation, and neighbor setup to ensure robust routing capabilities between your server and the Equinix...

Configuring BGP with FRR on an Equinix Metal Server
Establish a robust BGP configuration on your Equinix Metal server using FRR, including setting up network interfaces, installing and configuring FRR software, and ensuring secure and efficie...

Crosscloud VPN with Wireguard
Learn to establish secure VPN connections across cloud environments using WireGuard, including detailed setups for site-to-site tunnels and VPN gateways with NAT on Equinix Metal, enhancing...

Deploy Your First Server
Learn the essentials of deploying your first server with Equinix Metal. Set up your project & SSH keys, provision a server and connect it to the internet.

Ready to kick the tires?
Use code DEPLOYNOW for $300 credit