- Home /
- Resources /
- Learning center /
- Planning your firs...
Planning your first bare metal server deployment
A comprehensive overview for deploying your first Equinix Metal server, outlining pre-deployment considerations, hardware requirements, operating system choices, and networking designs to ensure a smooth and efficient setup
In this guide, we are going to take a look at everything you need to know to quickly and easily deploy a single Equinix Metal server. Equinix Metal is one of the simplest ways to get your hands on bare metal hardware, no matter what your use case is. There are many types of hardware available to meet your requirements, even for the most high performing workloads.
Let’s take a look at a few things you can think about ahead of time to make your first Equinix Metal deployment go as smoothly as possible.
Before You Deploy
Equinix Metal offers endless possibilities. You may need a single bare metal server to test something quickly, especially when troubleshooting something that may not be working properly in a cloud or virtualized environment. Or you may be looking to use the power of bare metal without the hassle of having to worry about pesky things like data centers, power, cooling, racking, and stacking.
Whatever the case, Equinix metal has you covered.
Before you deploy your first Equinix Metal server there are a few things to keep in mind to make your deployment as quick and smooth as possible.
- Create a plan.
- Know your hardware requirements.
- Know what operating system you will use.
- Know your networking design.
- Use cloud-init.
- Add an SSH key to your account so you can access your server after deployment.
Create a Plan
Like any successful deployment project, a little up-front planning can go a long way. When you're getting started with Equinix Metal, having a plan in place will ensure you are up and running in no time at all.
In this guide, we walk you through everything you should think of ahead of time, so you can plan accordingly.
Hardware Requirements
Equinix Metal offers a wide variety of bare metal server types. The types of available servers will depend on which metro location you choose to deploy in.
You can see hardware profiles of the bare metal servers available here so you can determine which one works best for your workload.
The next step is to check the Equinix Metal capacity dashboard for availability to help guide you on which metro location to deploy in. You can sort by both server type and metro location. This data can also be pulled via the Equinix Metal API.
Operating Systems
The next step is to know what operating system you are going to use.
Equinix Metal supports many operating systems. If you need something different than what is on the list, you can also use your own OS image using Custom iPXE. Check before you deploy so you can have your OS images ready at deployment time.
Networking Design
Equinix Metal offers flexible network design. By default, all Equinix Metal servers are deployed with a Layer 3 bonded network configuration. After deployment, you can change your network configuration to any of the following:
- Hybrid Bonded mode – Layer 3 and Layer 2 support on the bonded interface and the ability to attach VLANS.
- Hybrid Unbonded mode – One interface is removed from the bond and put into Layer 2 mode. The remaining interface continues to have Layer 3 connectivity accessed via public IP.
- Layer 2 Bonded mode – Converts the bond to a strictly Layer 2 bond, losing public Internet connectivity. VLANs are attached to the bonded interface.
- Layer 2 Unbonded mode – Two network interfaces are available for VLANs, and VLANs can be attached to either interface.
In either of the Layer 2 modes, since public internet connectivity is lost, the host can be reached by the Serial Over SSH (SOS) console or by deploying an Equinix Metal Gateway. After your server is deployed you can change the networking mode from the Manage Server pane.
For more details on available networking configurations be sure to check out the Layer 2 Networking Guide.
Cloud-init
A common technique that you can use when deploying servers is to include commands that will be run when the machine is booted up. You can specify instructions in the User data pane before deploying your server. This technique is referred to as Cloud-init.
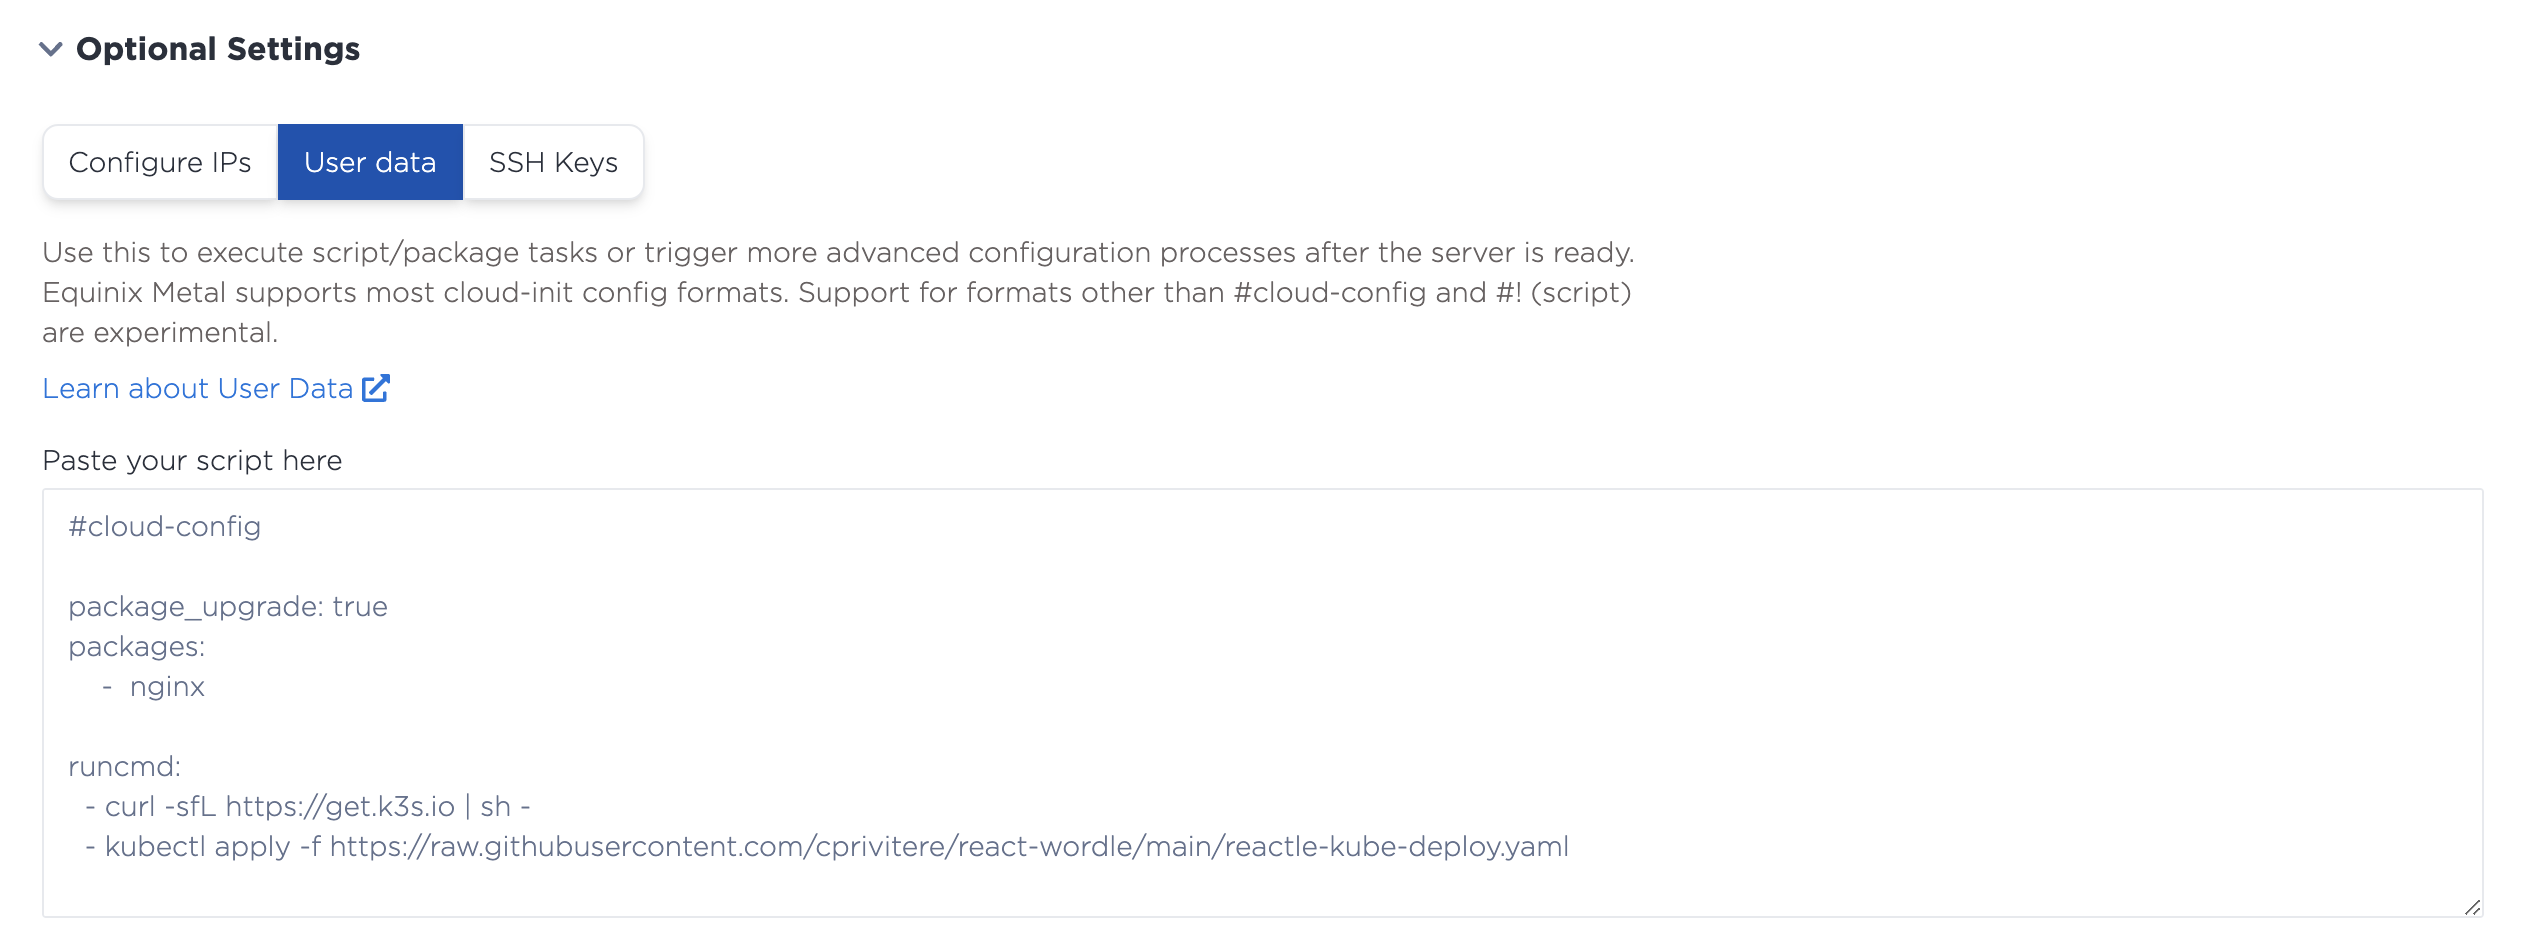
Users most commonly use this technique to update packages on a system, or other system-level tasks, but you can use this technique to do any number of tasks. There are many examples of cloud-init publicly available, and included in our documentation.
SSH Keys
You will need an SSH key to authenticate to your server. During the deployment process, you will be able to select which SSH key to use and your server will be configured appropriately so you can access it immediately after deployment.
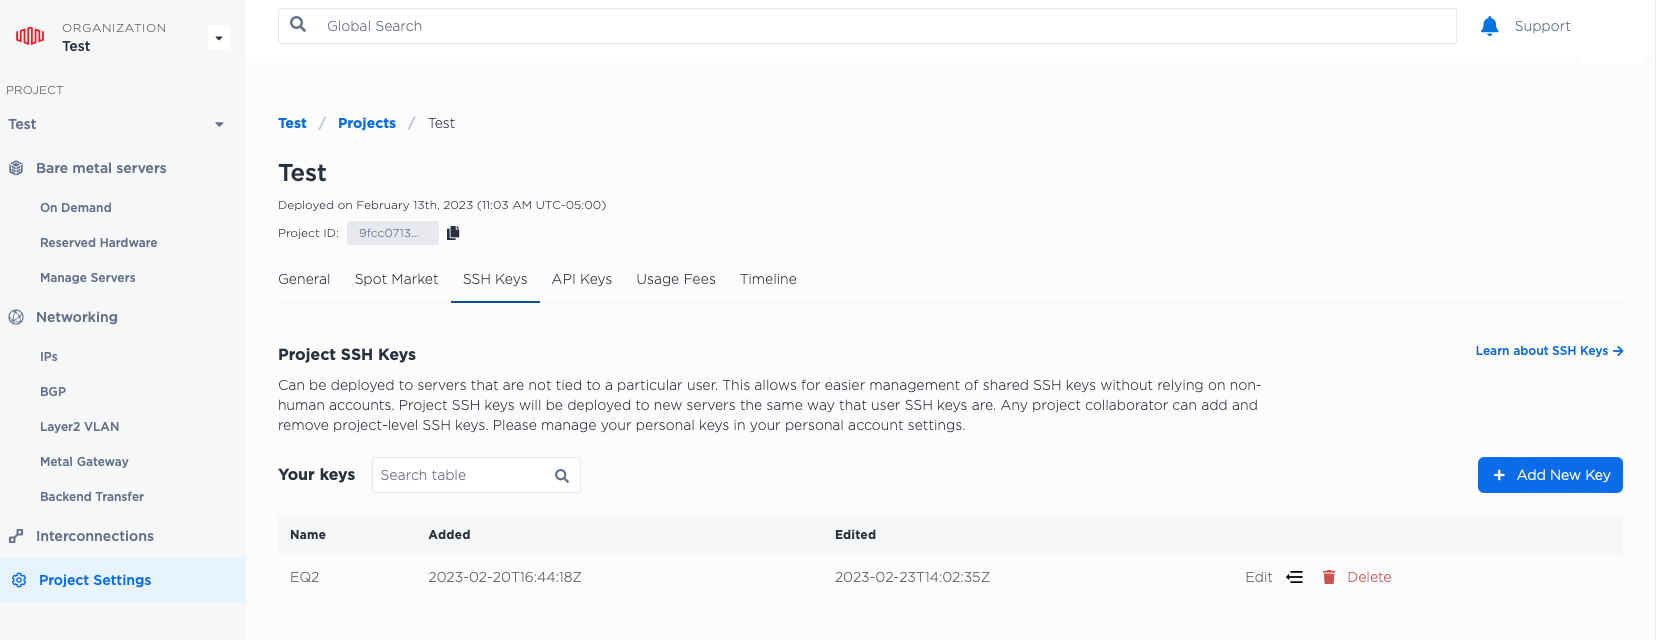
To add an SSH key, select Project Settings in the Equinix Metal interface, and click on SSH Keys. Then click Add New Key.
Give your key a name and enter the public key. Then click Add SSH key in the bottom left corner.
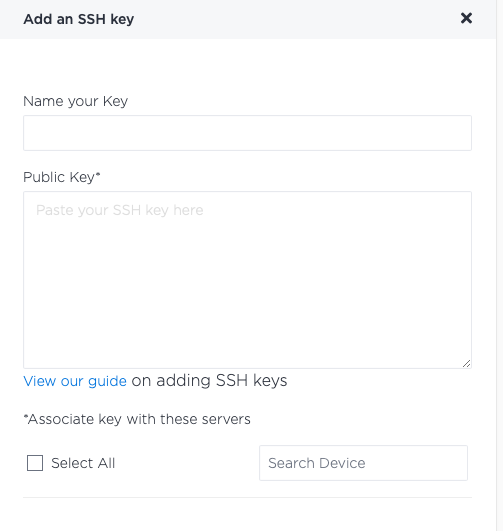
If youy need help creating an SSH key, see our guide to SSH keys.
Taking these planning and preliminary steps will make your first server deployment go more smoothly.
Deploying an Equinix Metal Server On Demand
Now you are ready to deploy your first Equinix Metal server. To start, click your project in the left navigation pane, and select the type of server you would like to deploy. Equinix Metal offers servers on demand, or reserved hardware with a set reservation length and price. Whichever option you choose, Equinix Metal pricing is outlined on this page.
If you've planned as suggested, using the UI to deploy a new server is fairly straightforward. If you prefer a more detailed walkthrough for your first deployment, see the [Deploy Your First Server tutorial](./deploy-first-server.md.
Once you've deployed a server, the Manage Servers screen will look like this:
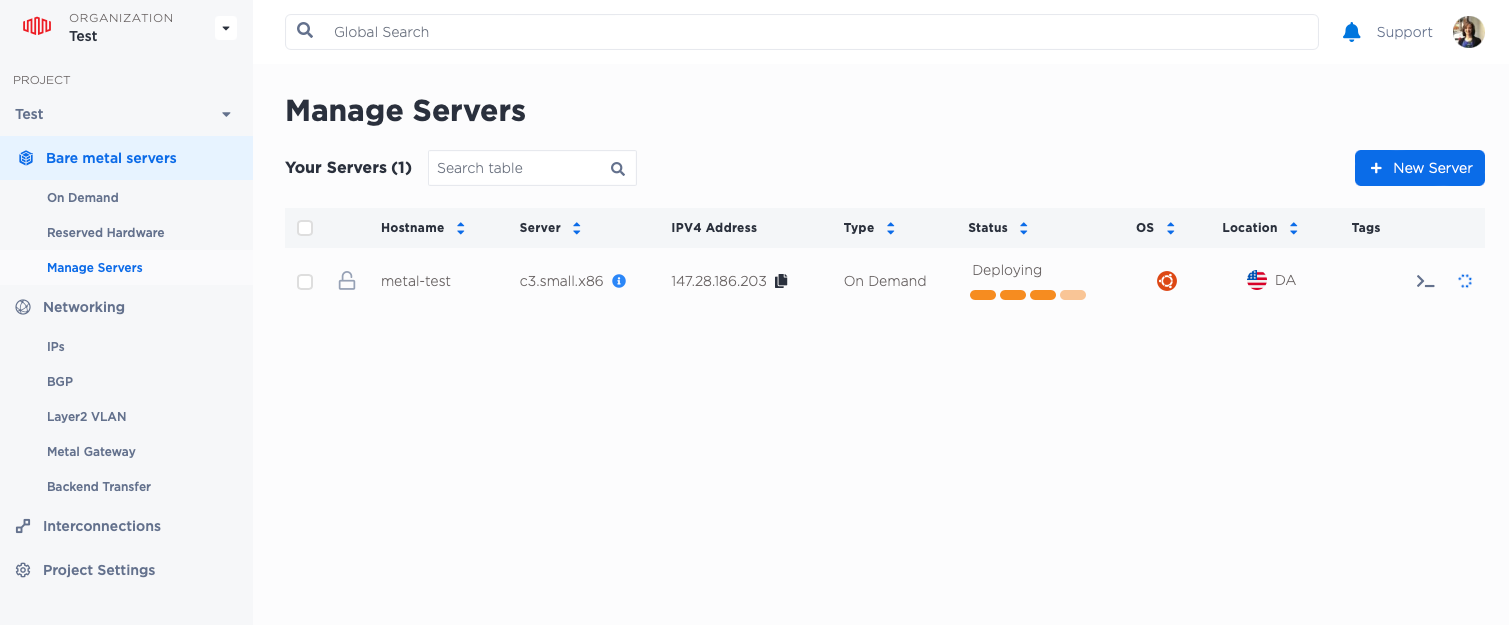
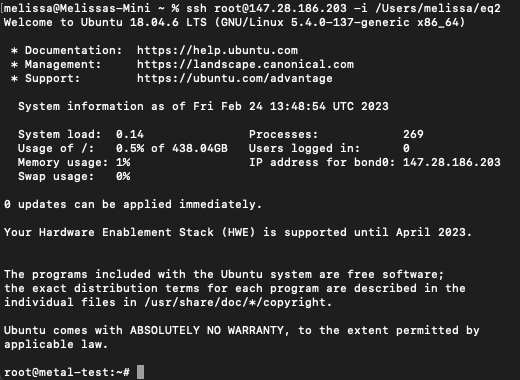
You can also see your public IPV4 address in this screen. Once the status has changed to Running from Deploying, you can now access your server. SSH to the IPV4 Address in the Manage Server pane to access your server.
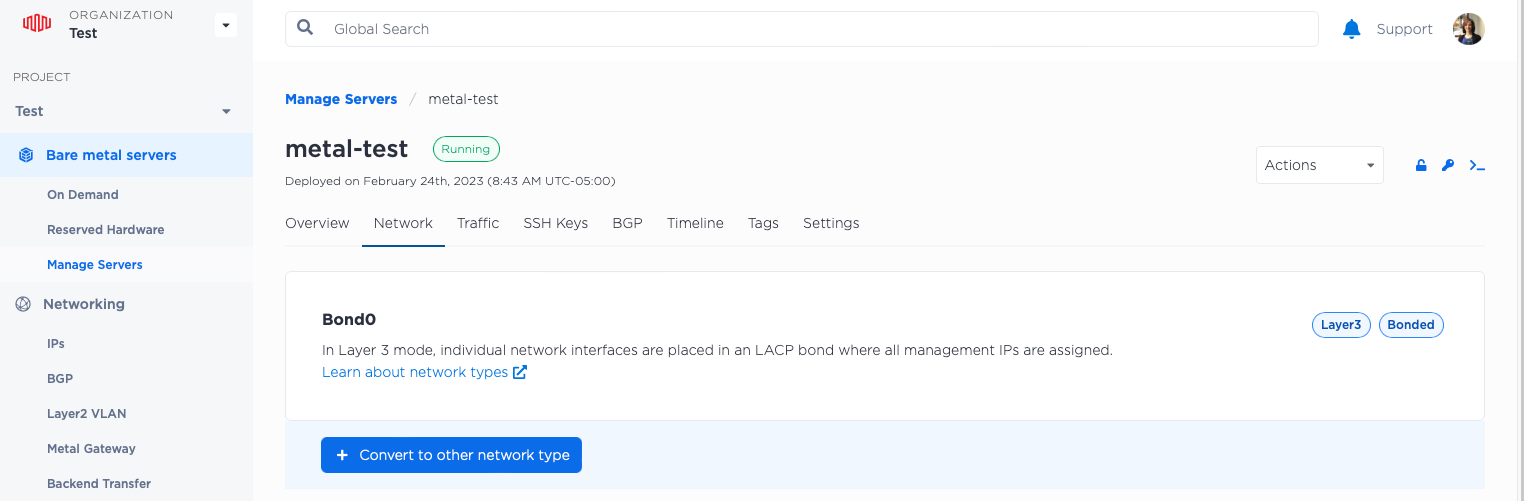
If you want a networking configuration other than the default, click on your server name from the Manage Server screen, and select Network. Here you can convert to another network type by clicking the Convert to other network type button.
Conclusion
You've now deployed your first server with Equinix Metal. If you create a plan, consider your hardware and OS needs, and determine your networking design in advance, you'll find the actual creation steps to be easier. Consider using cloud-init to customize your boot process and save time. Finally, be sure to add an SSH key to your server so that you can access it from a console once it's up and running.
For a more detailed setup tutorial, see the [Deploy Your First Server tutorial](./deploy-first-server.md. Now that you have your first server, be sure to check out other Equinix Guides for help setting up your server for your specific use case.
You may also like
Digger deeper into similar topics in our archives
Configuring BGP with BIRD 1.6 on an Equinix Metal Server
Set up BGP on your Equinix Metal server using BIRD 1.6, covering IP configuration, installation, and neighbor setup to ensure robust routing capabilities between your server and the Equinix...

Configuring BGP with FRR on an Equinix Metal Server
Establish a robust BGP configuration on your Equinix Metal server using FRR, including setting up network interfaces, installing and configuring FRR software, and ensuring secure and efficie...

Crosscloud VPN with Wireguard
Learn to establish secure VPN connections across cloud environments using WireGuard, including detailed setups for site-to-site tunnels and VPN gateways with NAT on Equinix Metal, enhancing...

Deploy Your First Server
Learn the essentials of deploying your first server with Equinix Metal. Set up your project & SSH keys, provision a server and connect it to the internet.

Ready to kick the tires?
Use code DEPLOYNOW for $300 credit