- Home /
- Resources /
- Learning center /
- Object Storage wit...
Object Storage with MinIO
Configure and install MinIO object storage on large-scale private cloud infrastructure and Equinix Metal.

MinIO is a high-performance distributed object storage server, designed for large-scale private cloud infrastructure. MinIO is designed to be cloud-native so that it can scale sustainably in multi-tenant environments.
Before you start, deploy a server using the Ubuntu 22.04 c3 small option, in the region of your choice. If you haven't deployed a server before, see the tutorial Deploy Your First Server.
Installing and configuring MinIO
You can install the MinIO server by compiling the source code or via a binary file. For this guide, we'll use the binary and deploy on a server running Ubuntu 22.04.
First, if you haven't updated the package database recently, update it now:
apt-get update
apt-get upgrade
Next, download the MinIO server binary:
curl -O https://dl.minio.io/server/minio/release/linux-amd64/minio
Change the permissions for the file you just downloaded to make it executable:
chmod +x minio
Next, move the binary to the /usr/local/bin directory, because that's where the startup script expects to find it. We'll get to the startup script in a bit.
mv minio /usr/local/bin
It's bad practice to run the MinIO server as root. Instead, we'll create a user called minio-user. Use this command:
useradd -r minio-user -s /sbin/nologin
Change the ownership of the minio binary to this new user:
chown minio-user:minio-user /usr/local/bin/minio
Depending on your particular setup, exactly how you create the storage directory may vary. For this tutorial, create a local directory called minio.
mkdir /etc/minio
Adjust the permissions for the storage directory you just created to allow minio-user access.
chown minio-user:minio-user /etc/minio
Next, you'll create a MinIO configuration file. Use Nano or your preferred text editor to create this file in the /etc/default directory:
nano /etc/default/minio
Make sure this file has the same permissions as the storage directory for minio-user.
Add the following code to the file, replacing <server_ip_address> with the IP address of your server:
MINIO_VOLUMES="/etc/minio/"
MINIO_OPTS="-C /etc/minio --address <server_ip_address>:9000"
You've set two variables in this file:
-
MINIO_VOLUMES: the directory (path) where your files will are stored -
MINIO_OPTS: has a varity of uses, including the working path of the MinIO configuration, and options for how to access the MinIO UI
MinIO Startup Script
To allow MinIO to startup at reboot, you need a startup script. Download the descriptor file:
curl -O https://raw.githubusercontent.com/minio/minio-service/master/linux-systemd/minio.service
The minio.service file will be created in your local directory.
Move the descriptor file to /etc/systemd/system:
mv minio.service /etc/systemd/system
To ensure systemd knows about the new startup script, you'll need to reload the systemd units:
systemctl daemon-reload
Also, to ensure that the MinIO Server automatically starts at reboot, add it to systemctl:
systemctl enable minio
This completes the installation and setup process for MinIO.
Next, start the service:
systemctl start minio
Check that it's running with the status command:
systemctl status minio
You should see an output similar to:
 minio.service - MinIO
   Loaded: loaded (/etc/systemd/system/minio.service; enabled; vendor preset: enabled)
   Active: active (running) since Thu 2020-04-09 15:31:45 UTC; 1 day 3h ago
     Docs: https://docs.min.io
 Main PID: 2757 (minio)
    Tasks: 20 (limit: 4915)
   CGroup: /system.slice/minio.service
           └─2757 /usr/local/bin/minio server -C /etc/minio --address s3.example.com:443 /usr/local/minio/data
Finally, you'll verify that everything has installed correctly by viewing the MinIO dashboard. Open a browser and go to the address of your server, port 9000:
http://<server-ip-address>:9000
Your browser will redirect to port 44583, and you'll see the MinIO Object Store login page.
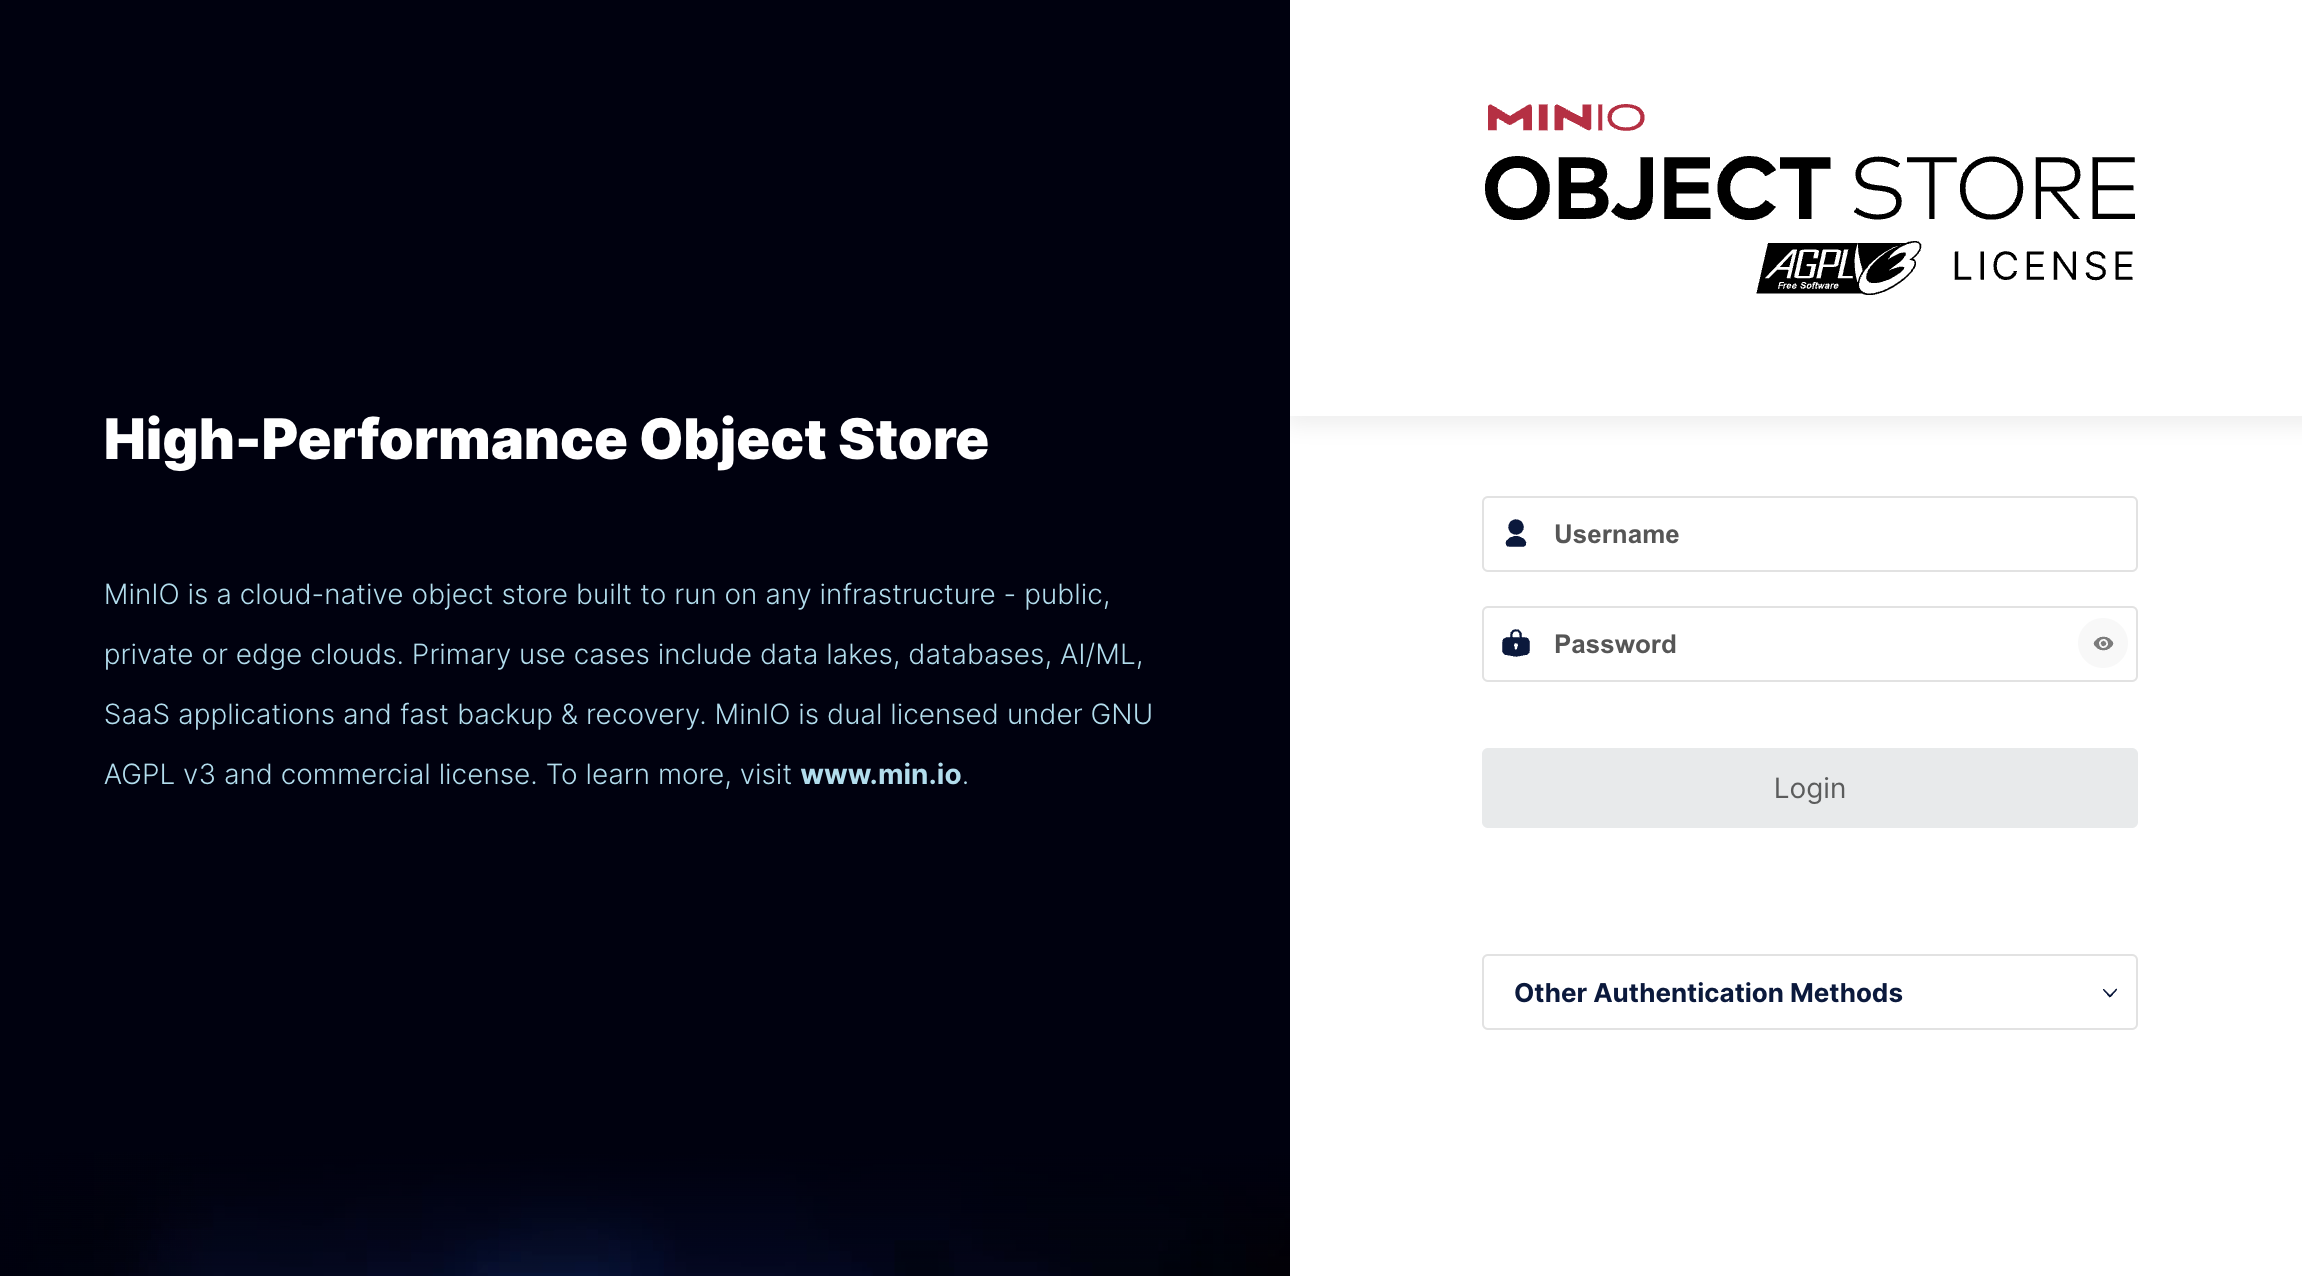
Log in to MinIO using the username minioadmin and the password minioadmin.
You'll see the MinIO Object Store console.

Conclusion
You've now created your own MinIO object storage server. From here, you may want to configure the server with a TLS certificate for security. You should also check out the MinIO web interface, so that you can create some buckets and start uploding objects.
For more information about MinIO, check out at the project’s documentation website. It's recommended to securing your MinIO Server using Let's Encrypt. Information on how to configure your MinIO access and credentials can be found in the User Management documentation page.
You may also like
Digger deeper into similar topics in our archives
Configuring BGP with BIRD 1.6 on an Equinix Metal Server
Set up BGP on your Equinix Metal server using BIRD 1.6, covering IP configuration, installation, and neighbor setup to ensure robust routing capabilities between your server and the Equinix...

Configuring BGP with FRR on an Equinix Metal Server
Establish a robust BGP configuration on your Equinix Metal server using FRR, including setting up network interfaces, installing and configuring FRR software, and ensuring secure and efficie...

Crosscloud VPN with Wireguard
Learn to establish secure VPN connections across cloud environments using WireGuard, including detailed setups for site-to-site tunnels and VPN gateways with NAT on Equinix Metal, enhancing...

Deploy Your First Server
Learn the essentials of deploying your first server with Equinix Metal. Set up your project & SSH keys, provision a server and connect it to the internet.

Ready to kick the tires?
Use code DEPLOYNOW for $300 credit