- Home /
- Resources /
- Learning center /
- KVM and Libvirt on...
KVM and Libvirt on Ubuntu 20.04
Learn how to boot virtual machines from scratch with KVM and Libvirt on Ubuntu.

On this page
Booting virtual machines from scratch using the KVM hypervisor with the virtualization manager Libvirt has some gotchas. You'll see what they are and how to avoid them with this guide. We'll also show you how to expose your virtual machine to the public internet with an elastic IP.
All of Equinix Metal's hardware can be virtualized but for this guide, we'll be deploying an Entry Level & All-Arounder server with Ubuntu 20.04 installed.
Note: This installation is completed entirely using the command line (no GUI). Also, you will need a public /29 IPv4 block assigned to your account if you plan to route public traffic to your virtual machine. You can request the IP block from our portal.
Deploying the Server and Installing Virtualization Software
Log in to your Equinix Metal Dashboard navigate and deploy a new c3.small.x86 server in the region that suits you best. Do not add the /29 IPv4 block to the server at this point, you'll assign it later on. The server will automatically be assigned one public IPv4 and one public IPv6 address which you'll use as the management addresses for the KVM host itself. The elastic IPs are entirely reserved for the virtualization layer.
Use SSH to log in to your new server as root. Next, you'll install several packages to create and properly manage virtual machines:
- qemu-kvm: the hypervisor and emulator.
- virtinst: a suite of command line tools for installing and managing virtual machines with the operating system of your choosing.
- bridge-utils: used to create and manage bridge networks.
- libvirt: The system daemon managing your VMs for you
First, use apt update and apt upgrade to make sure your system is up to date:
$ apt update && apt upgrade -y
Then use install to install the five packages:
$ apt install bridge-utils qemu-kvm virtinst libvirt-daemon virt-manager -y
When the installation is complete, verify that it was successful by running kvm-ok:
$ kvm-ok
If the command completes with no errors, you can proceed.
Configuring the Network
When you configure the network for your virtual machines, you can choose to run in NAT mode or in Route mode.
In NAT mode, each virtual machine gets a private IP and communicates with the public internet via the host's public IP.
In Route mode, each virtual machine gets their own public IP.
With either configuration, you'll need to create a bridge network. By default, libvirt comes with a preconfigured NATed network. It will usually assign 192.168.x.x IPs to the virtual machines you create. In this case, though, you want your virtual machines to have their own public IPs, so will define your own network in an XML file.
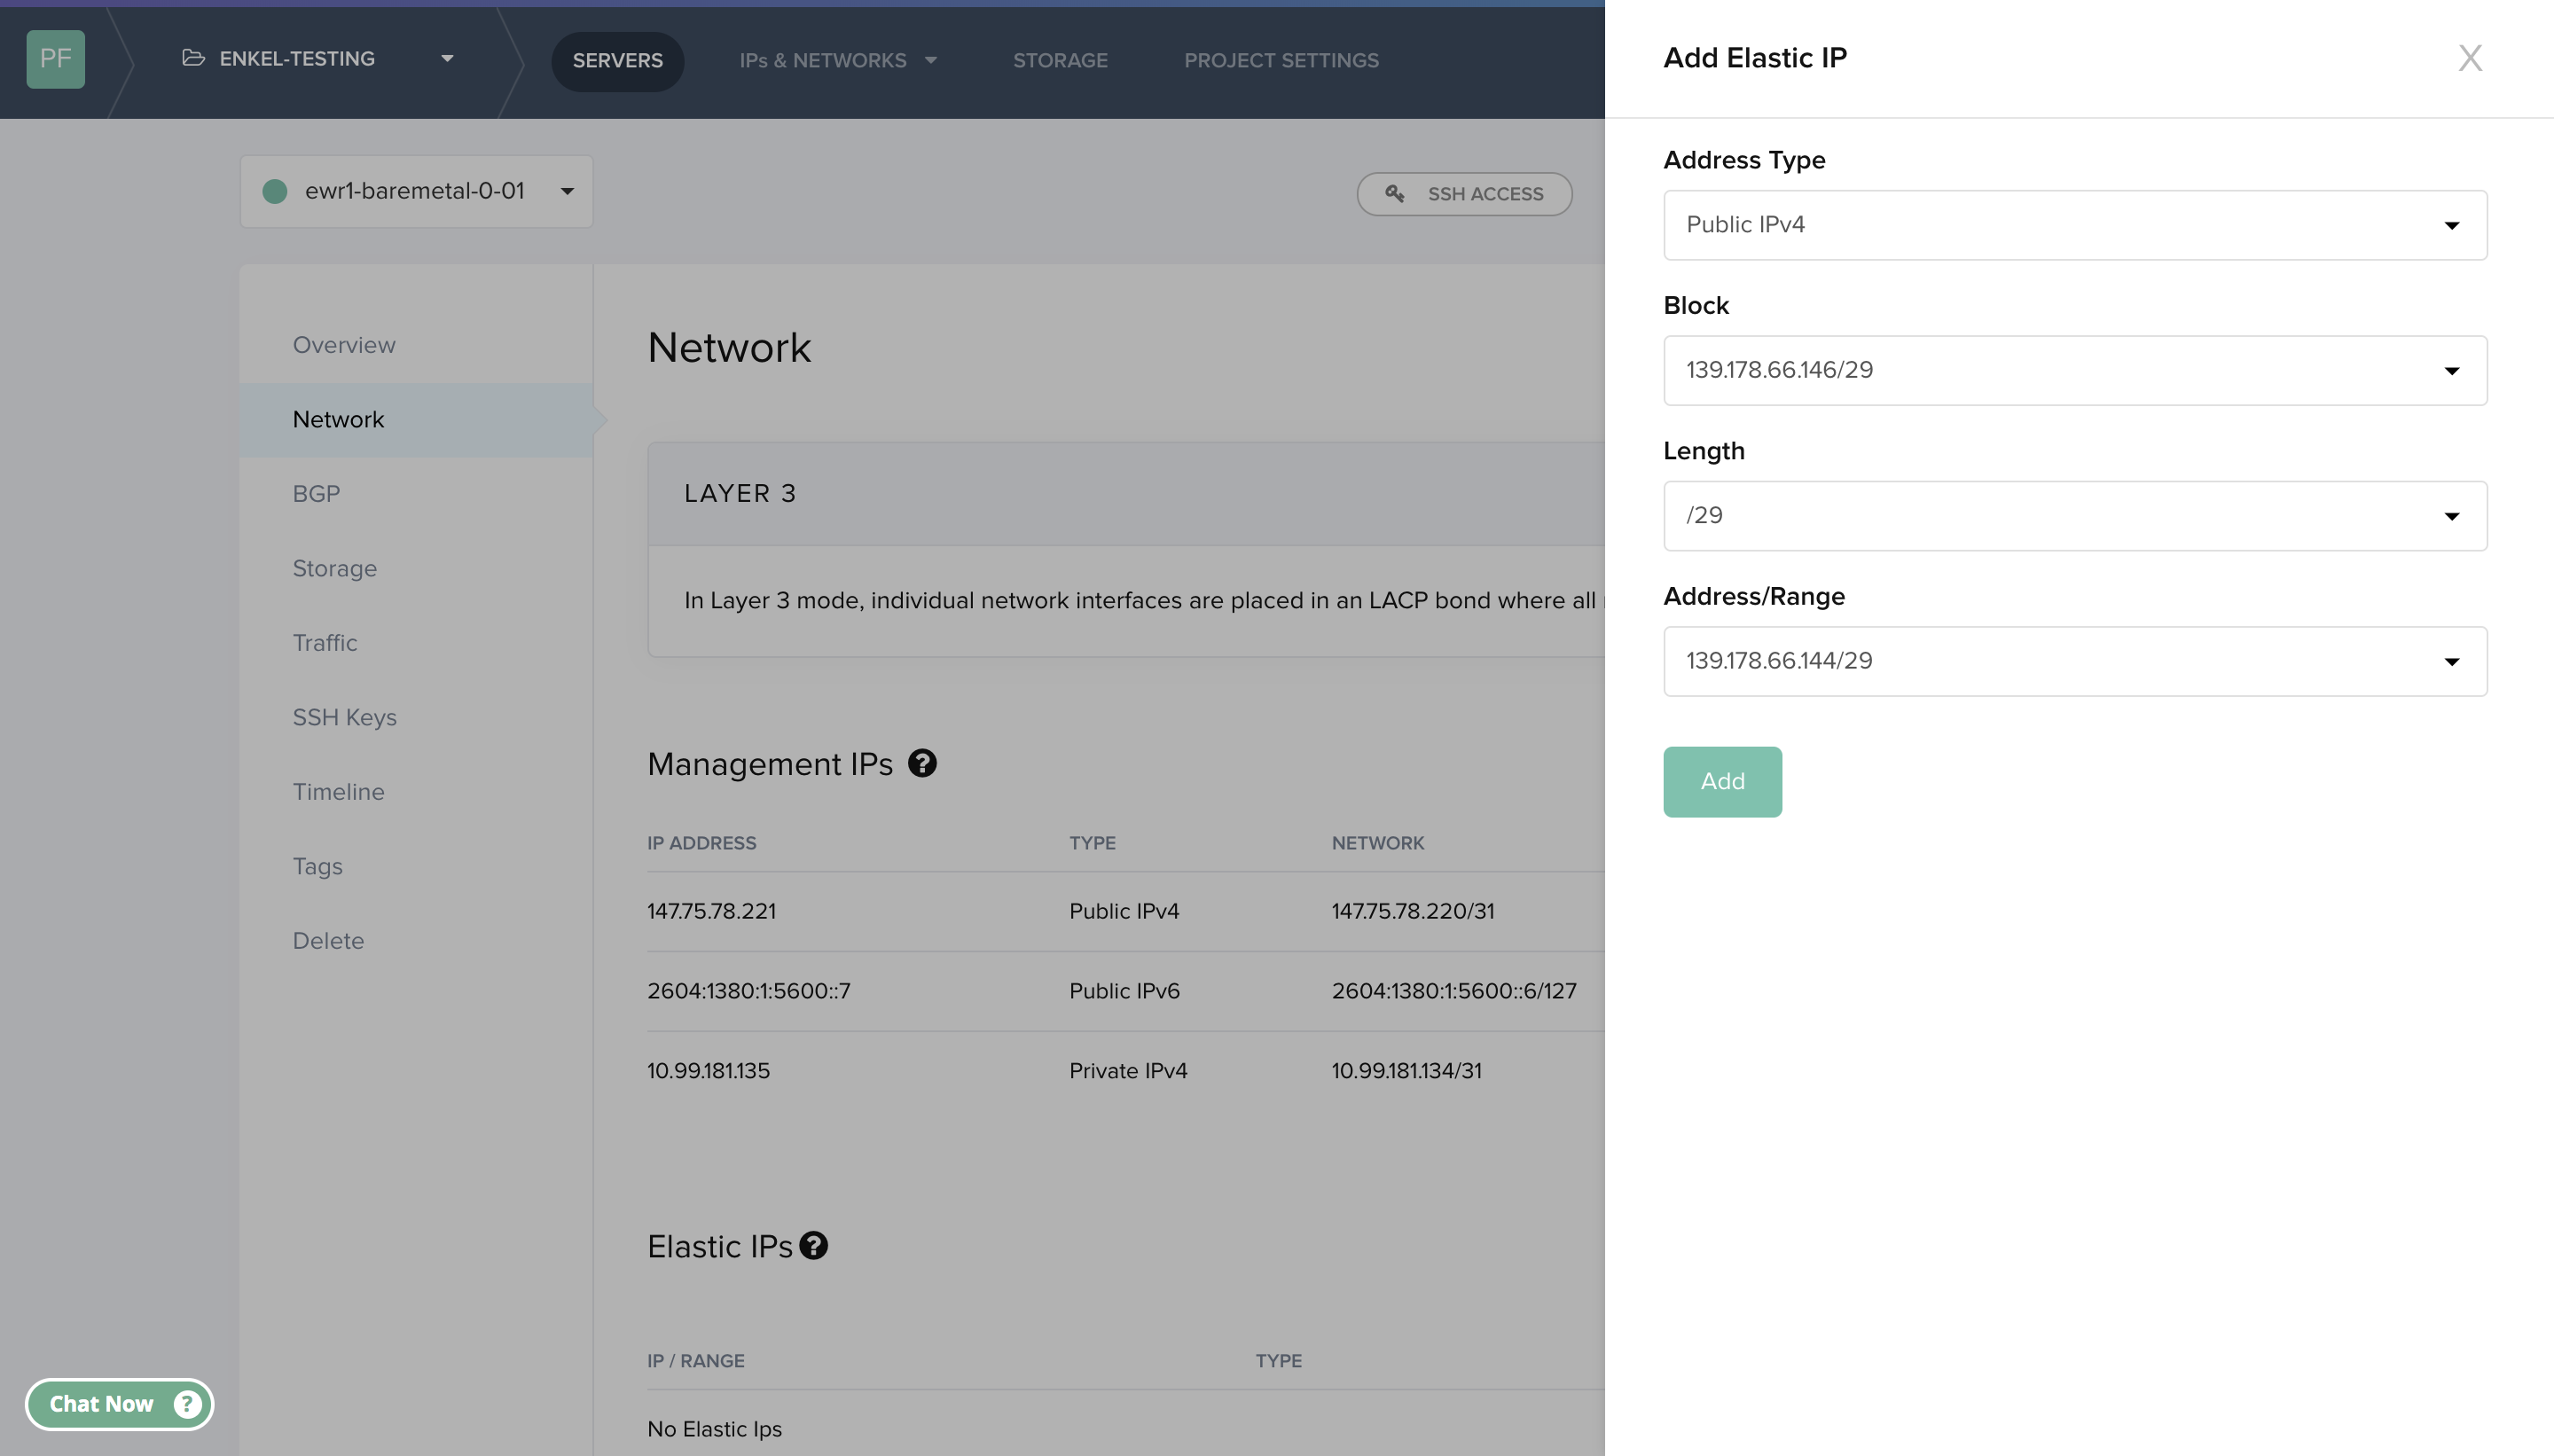
In the Equinix Console, click on your KVM's host name, select Network from the left navigation menu and then select the + Assign New Elastic button on the right. There are no elastic IP addresses by default, but you can add them using the documentation page Configuring Elastic IPs.
You'll be using the net-define command to configure the virtual machine, so you need to create a configuration file.
The configuration needs to be in XML. Create an .xml file called network.xml in your root directory, using your favorite editor. Add the following code to the file:
<network>
	<name>vmbr0</name>
	<forward mode="route"/>
	<bridge name="vmbr0" stp="on" delay="0"/>
	<ip address="145.40.76.248" netmask="255.255.255.248">
		<dhcp>
			<range start="145.40.76.249" end="145.40.76.254"/>
		</dhcp>
	</ip>
</network>
There are three IP addresses that are reserved for the system: the network address (first IP in the range), the gateway (the host bridge), and the broadcast address (last IP). So if you were using the subnet 145.40.76.248/29 which has eight total IPs, the IP allocation would be as follows:
145.40.76.248 - Network address
145.40.76.249 - Gateway for the VMs / KVM host bridge address
145.40.76.250-254 - Range of usable IPs for VMs (5 in the case of a /29)
145.40.76.255 - Broadcast address
The first IP you specify in the XML file is the one for KVM host, which will act as a virtual network gateway for your VMs. The next IP address, the first in the range you defined, will be used for the KVM host gateway. In this case, that's 145.40.76.249.
You also need to specify a range denoting the useable IP space in your network. In this case you'll have five useable IP addresses, which you can assign to VMs. The broadcast address does not need to be set explicitly.
After you've created the file, use the following virsh commands to define, create and start your new network.
virsh net-define /root/network.xml
virsh net-autostart vmbr0
virsh net-start vmbr0
The following commands delete the default private network. This is not required, but you can delete it if you prefer.
virsh net-destroy default
virsh net-undefine default
Lastly, use systemctl to restart the libvirt daemon.
systemctl restart libvirtd.service
Use the ifconfig command to look at your interfaces. You'll see a new interface named vmbr0 with an IP address of 145.40.76.248/29.
Lastly, use the following commands to enable IPv4 and IPv6 packet forwarding:
sed -i "/net.ipv4.ip_forward=1/ s/# *//" /etc/sysctl.conf
sed -i "/net.ipv6.conf.all.forwarding=1/ s/# *//" /etc/sysctl.conf
Reload sysctl for the packet forwarding changes to be applied.
sysctl -p
Provisioning a Virtual Guest Machine
To provision a virtual machine on the new network, you'll first need to download the appropriate Ubuntu image with the following commands:
cd /var/lib/libvirt/images
wget https://releases.ubuntu.com/jammy/ubuntu-22.04.4-live-server-amd64.iso
Then mount the image:
mount /var/lib/libvirt/images/ubuntu-22.04.4-live-server-amd64.iso /mnt
Now you can provision the VM with virt-install. The following command will install an Ubuntu 22.04 VM. Feel free to change some of the parameters to fit your own situation.
virt-install --name myUbuntuVM \
--os-variant ubuntu22.04 \
--vcpus 1 \
--memory 2048 \
--location /var/lib/libvirt/images/ubuntu-22.04.4-live-server-amd64.iso,kernel=casper/vmlinuz,initrd=casper/initrd \
--network bridge=vmbr0 \
--graphics none \
--disk size=20 \
--console pty,target_type=serial \
--extra-args='console=ttyS0,115200n8 serial' \
After you run this command, the Ubuntu installer will take over and guide you through the rest of the install. You will be prompted to create a user, which you will use to access the VM later, so be sure to make a note of the credentials.
At the end of the installation, you'll be prompted with the option of setting up SSH access. You need to install the OpenSSH Server package to access the VM once the installation is completed.
        SSH Setup

        You can choose to install the OpenSSH server package to enable secure remote
        access to your server.

			[X] Install OpenSSH server

        Import SSH identity: [ No           v ]
                             You can import your SSH keys from GitHub or Launchpad.

            Import Username:

                        [X] Allow password authentication over SSH
Ensure that both "Install OpenSSH server" and "Allow password authentication over SSH" are checked before proceding.
Accessing Your VM
To access your VM, use SSH to connect to it from the host machine.
To view the IP address/MAC address of your VM, use virsh to list the DHCP leases for the virtual bridge network you set up:
virsh net-dhcp-leases vmbr0
The output will look like this:
$ virsh net-dhcp-leases vmbr0
 Expiry Time           MAC address         Protocol   IP address         Hostname   Client ID or DUID
----------------------------------------------------------------------------------------------------------------------------------------------
 2024-07-04 20:39:58   52:54:00:35:83:ad   ipv4       145.40.76.252/29   -          ff:56:50:4d:98:00:02:00:00:ab:11:a1:35:51:22:a1:d7:3f:1e
 2024-07-04 21:11:27   52:54:00:54:fb:27   ipv4       145.40.76.253/29   stevevm    ff:56:50:4d:98:00:02:00:00:ab:11:a3:f1:90:bf:9c:f5:22:b0
 2024-07-04 20:27:08   52:54:00:87:20:82   ipv4       145.40.76.254/29   -          ff:56:50:4d:98:00:02:00:00:ab:11:6d:fd:62:18:78:a5:49:17
If you want to check the status of a particular VM, use virsh list:
$ virsh list
 Id   Name          State
-----------------------------
 4    myUbuntuVM3   running
If you run into an issue, you can destroy the VM and start over with virsh destroy <id>.
Then, SSH into the VM with the user name of the account that we created during the OS installation process:
ssh username@the-ip-address;
Since this is the first time you're connecting to the VM, you'll be asked if you want to continue connecting with these keys. After you enter "yes," you'll see the usual connection messages and a command prompt.
Conclusion
You have now installed KVM and Libvirt, and used them to create a bridge network for your VMs, and created a guest VM to ensure that it works. You can use the same process to add more VMs to your existing network, or you can configure a new network that fits your specifications.
You may also like
Digger deeper into similar topics in our archives
Configuring BGP with BIRD 1.6 on an Equinix Metal Server
Set up BGP on your Equinix Metal server using BIRD 1.6, covering IP configuration, installation, and neighbor setup to ensure robust routing capabilities between your server and the Equinix...

Configuring BGP with FRR on an Equinix Metal Server
Establish a robust BGP configuration on your Equinix Metal server using FRR, including setting up network interfaces, installing and configuring FRR software, and ensuring secure and efficie...

Crosscloud VPN with Wireguard
Learn to establish secure VPN connections across cloud environments using WireGuard, including detailed setups for site-to-site tunnels and VPN gateways with NAT on Equinix Metal, enhancing...

Deploy Your First Server
Learn the essentials of deploying your first server with Equinix Metal. Set up your project & SSH keys, provision a server and connect it to the internet.

Ready to kick the tires?
Use code DEPLOYNOW for $300 credit