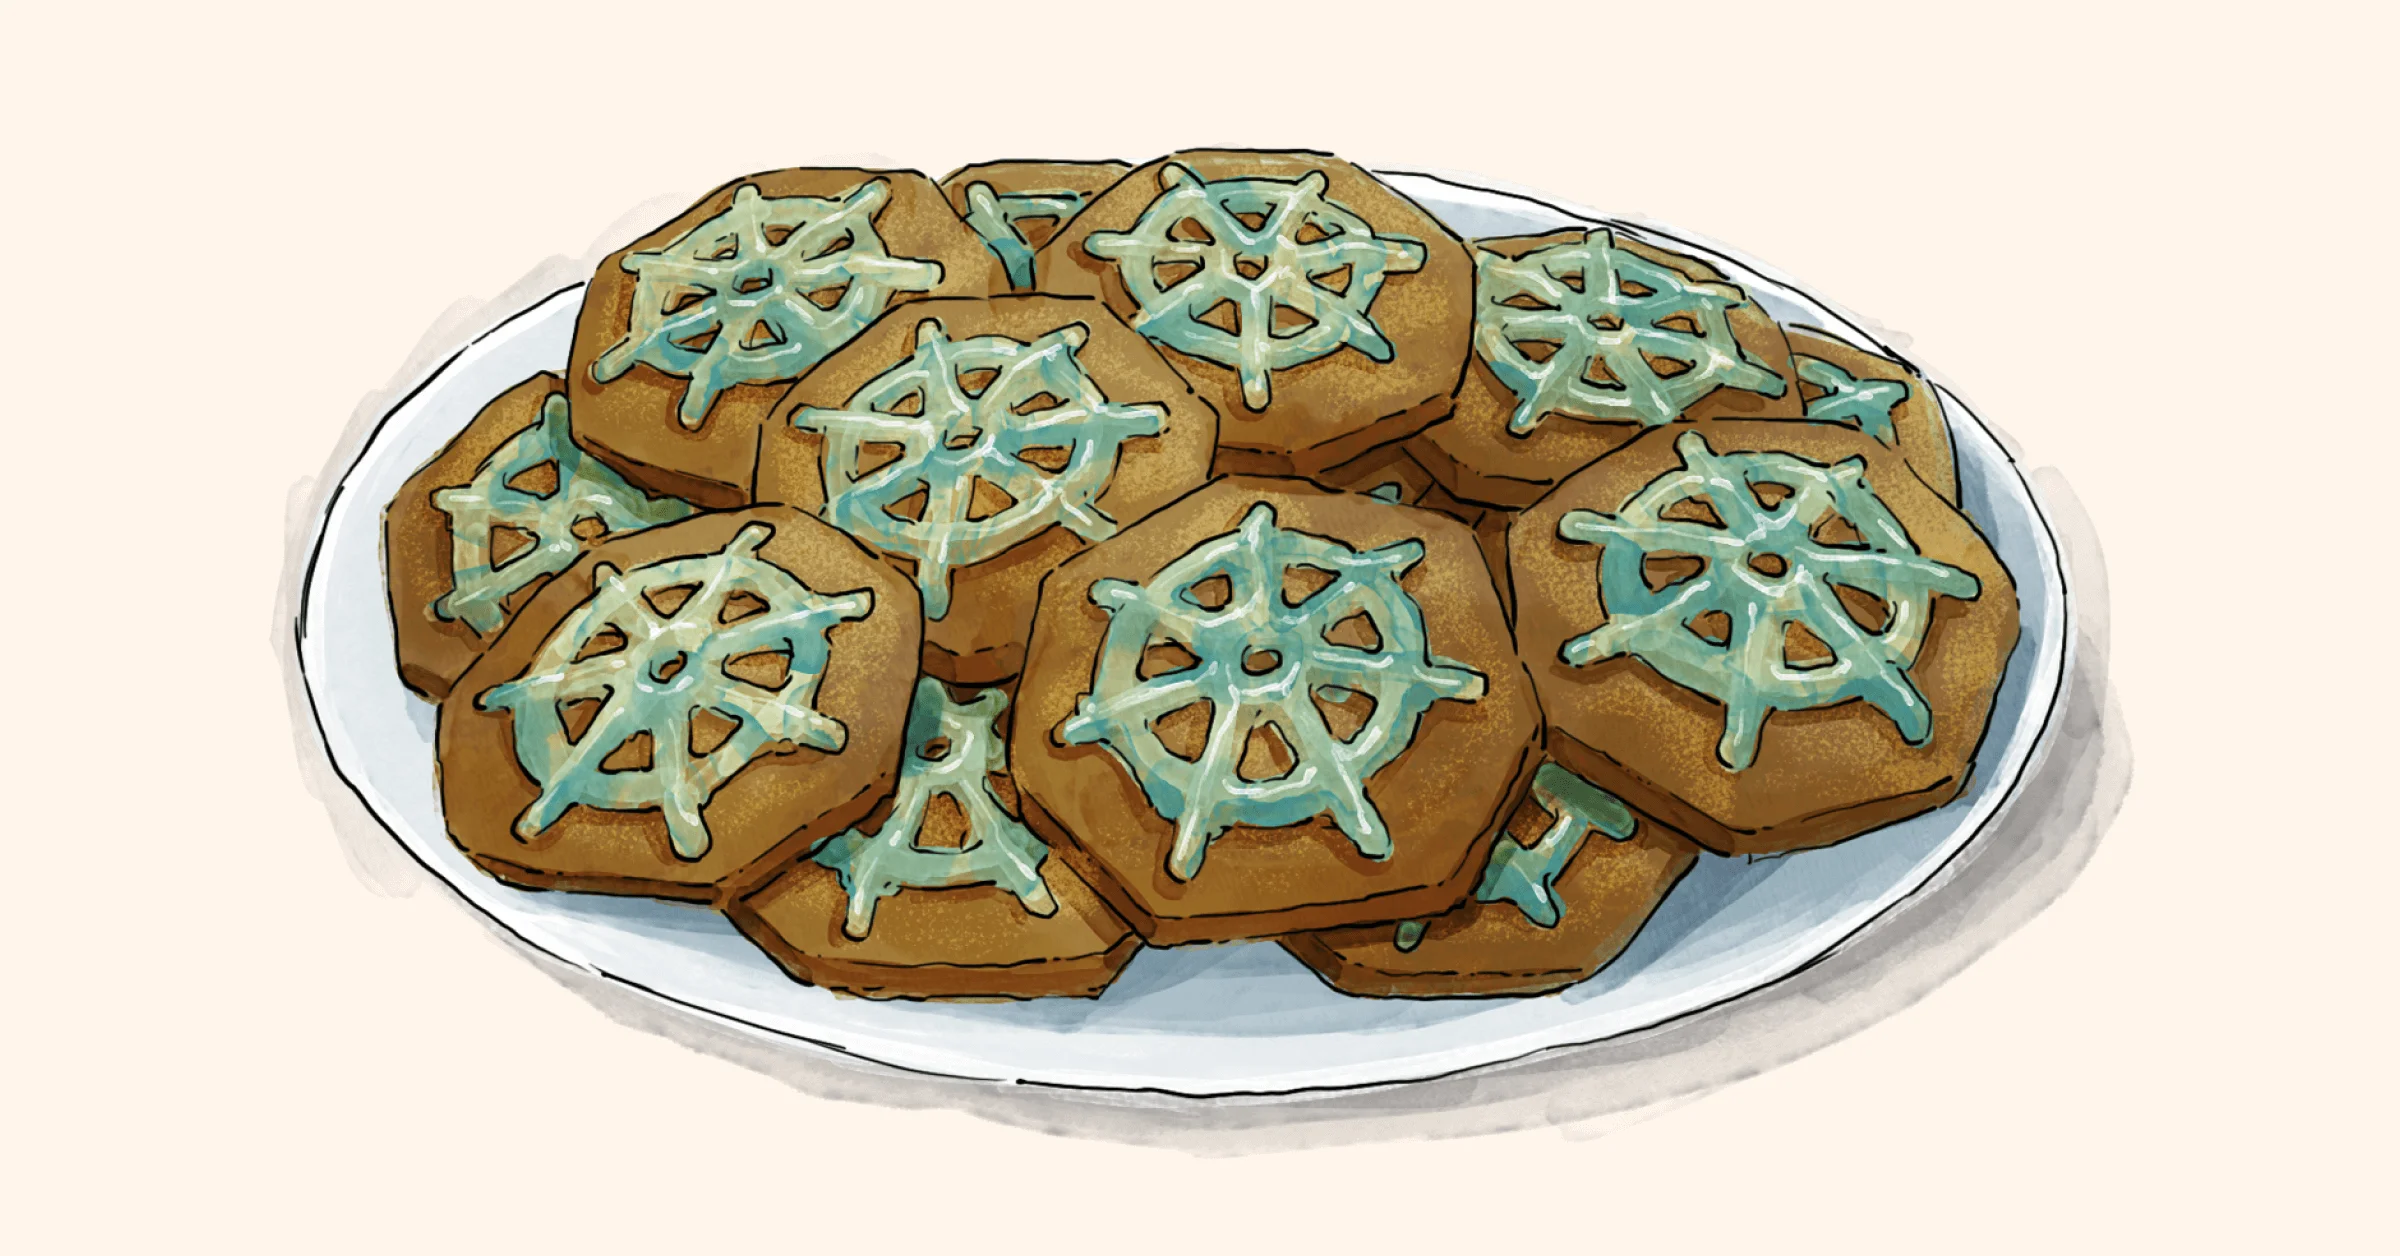
Shortbread ReplicaSet
Contributor Josh Berkus brings his Shortbread ReplicaSet recipe to our CNCF Cookbook. This recipe is super-tasty and goes great with bourbon.

Josh BerkusRed Hat

Ingredients
- 1 cup (2 sticks) salted butter, softened 1/2 cup dark brown sugar
- 1 1/2 teaspoons of garam masala
- 2 1/4 cups all-purpose flour
- 2 to 6 teaspoons cold water
- 1/4 cup white granulated sugar
- 1 1/2 teaspoons garam masala
- 3 teaspoons milk
- 2 tablespoons (or more) powdered sugar 3 drops liquid blue food coloring
- 3 drops liquid blue food coloring
Directions
- Two hours before making the cookies, take the butter out of the fridge so that it can soften completely. Cut the butter into chunks and cream it in a mixer on low. When completely smooshed, add the brown sugar. Cream it until the sugar completely dissolves into the butter.
- Sift the flour and the garam masala together and then add to the butter one-third at a time, stopping when no more dry flour is visible. It should be somewhat crumbly but able to easily hold together if you pinch a small amount of it. Add two teaspoons of water and mix it one last time. If it seems dry, add more water (up to two tablespoons). You don’t want it sticky though; you want it to just barely hold together.
- Cover and place in the fridge for 25 to 45 minutes. Do not press it into a ball, as you want a bowl full of loose crumbles of dough. Do not leave it overnight. If you need to leave it for more than 45 minutes, then let it warm on the counter for a bit.
- Put the white sugar and the second 1 1/2 teaspoons of garam masala into a small bowl and mix them together. Then make your icing by putting the milk in a small bowl and mixing in enough sifted powdered sugar until it has a thick, gluey texture, probably about two tablespoons. Add three drops of food coloring and mix. Finally, put a little flour in another small flat bowl for coating the cookie press.
- Turn the oven on to 350°F (180°C) to heat and arrange the oven racks so that you can put two cookie sheets in.
- Take the dough out of the fridge, line two baking sheets with parchment or silicon and flour the cookie press. Take about 1 1/2 tablespoons of dough out of the bowl and roll it into a ball; it should be about 1 inch in diameter. Drop the ball into the granulated sugar mixture and flatten it into a small disk, turning it so that it’s coated on all sides.
- Place the small disk of dough on the corner of the cookie sheet and press the cookie press down on it. Repeat this until the cookie sheet is full.
- When one cookie sheet is full, put it in the oven and set a timer for 6 minutes. Start on the second cookie sheet.
- After it’s been baking for 6 minutes, turn the sheet around for even cooking. Set a timer for 4 more minutes. After that time check the cookies. If they are showing a thin rim of dark brown on the bottom edges, they’re done and ready to be taken out.
- Place cookies on a rack to cool. Put the second sheet of cookies in the oven and repeat.
- After 20 minutes or so, when all cookies are cool, paint the raised design with the blue icing using a small paintbrush. The icing will take another 15 minutes to dry. Serve, or put in a sealed container and store at room temperature. Eat a few before your family sees them; those were “deployment failures.”
Published on
29 September 2022Category

Ready to kick the tires?
Use code DEPLOYNOW for $250 credit