- Home /
- Resources /
- Learning center /
- Installing Talos o...
Installing Talos on Metal
This guide explores how combining Equinix Metal and the Talos operating system benefits organizations handling large Kubernetes workloads by simplifying cluster management, enhancing security, and ensuring high availability and global scalability.
On this page
In the evolving era of cloud computing, organizations are looking for solutions that combine performance, security, and flexibility to meet their application infrastructure needs. This guide will demonstrate how combining the features of Equinix Metal and the Talos operating system can be beneficial for organizations handling large Kubernetes workloads.
Why use Talos?
Talos is an operating system built for Kubernetes. It stands out with its immutable and minimalistic design, making it a match for the high-performance and customizable environment that Equinix Metal provides.
Here are a few key highlights and viewpoints of Talos:
- Kubernetes-Native: Talos runs Kubernetes, and that's all it does. There's no host-level access, no shell, and no SSH. You manage the system via API. This reduces the potential attack surface.
- Immutable Infrastructure: The Talos root filesystem is read-only. Because the infrastructure level is immutable, you know that your workload won't be affected by a minor configuration change.
- Minimalist: Talos contains only the basic components needed to run Kubernetes, and runs entirely in memory. That reduces the load on resources, and leaves more disk space for Kubernetes.
- Security: Security is the center of Talos. The immutable, read-only system structure reduces the possible avenues of attack.
- Automatic Updates: Talos uses automatic updates for Kubernetes tasks and components. This ensures that the cluster is constantly protected against the latest vulnerabilities.
Video replay
To view a livestream of this guide, check out the video below.
What you'll be creating
- An Equinix Metal Account
- A Global IP Address
- An Equinix Metal server running a custom iPXE image
Installing Talos on Equinix Metal
Step 1: Reserve a Global IP
Talos requires the user to define an endpoint for Kubernetes to connect to and manage control plane operations. There are several ways to do this, the Talos documentation usually recommends using a DNS or Load Balancer, but for the purposes of this guide we will use a Global IP from Equinix.
From the Equinix Metal console, go to the Networking menu and choose IPs. Choose to create a new Global IP.
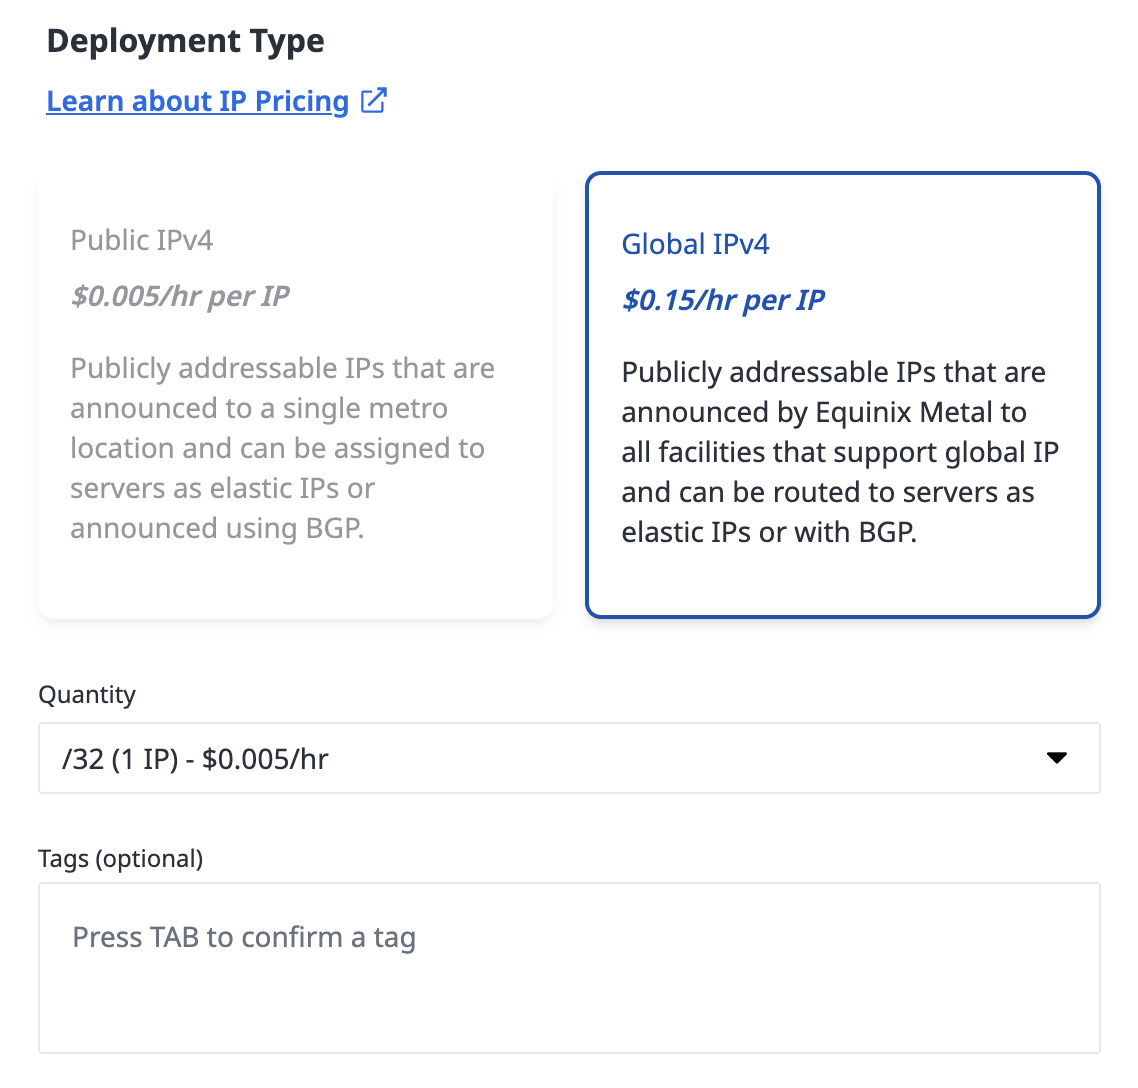
For the purposes of this document we'll refer to this IP address as the "Global IP" in the written step and as 139.178.74.101 in the example code snippets.
Step 2: Installing Talos CLI locally
Download the Talos CLI, talosctl, with the following command:
brew install siderolabs/tap/talosctl
We'll need the CLI to create Talos config files in the next step.
Step 2: Generate Talos configuration files
Now you'll need to create a couple of configuration files. These sign certificaties so communication can occur to the API securely. Use the following talosctl command to create the needed files. Note, use the Global IP address from the previous step with the port 6443.
$ talosctl gen config talos-k8s-em-tutorial https://139.178.74.101:6443
generating PKI and tokens
Created /Users/smartinelli/controlplane.yaml
Created /Users/smartinelli/worker.yaml
Created /Users/smartinelli/talosconfig
Optionally, you can validate the config files using the talosctl validate command:
$ talosctl validate --config controlplane.yaml --mode metal
controlplane.yaml is valid for metal mode
$ talosctl validate --config worker.yaml --mode metal
worker.yaml is valid for metal mode
Step 3: Determining the Talos Factory iPXE URL
Talos Factory produces an iPXE URL that Equinix Metal can use to provision Talos when creating a new server. For this guide we will provide a specific URL to use.
- Talos version:
1.7.5 - Architecture:
AMD64 - Libraries:
intel-ucode - Optional arguments:
console=ttyS1,115200n8
https://pxe.factory.talos.dev/pxe/376567988ad370138ad8b2698212367b8edcb69b5fd68c80be1f2ec7d603b4ba/v1.8.0/equinixMetal-amd64
However, if you'd like to go through the exercise of creating your own, navigate to the Talos Factory and walk through the steps.
Step 4: Provision the machines in Equinix Metal
In this step, we'll provision an Equinix Metal server with Talos by leveraging the new iPXE URL and the previously generated Talos config files.
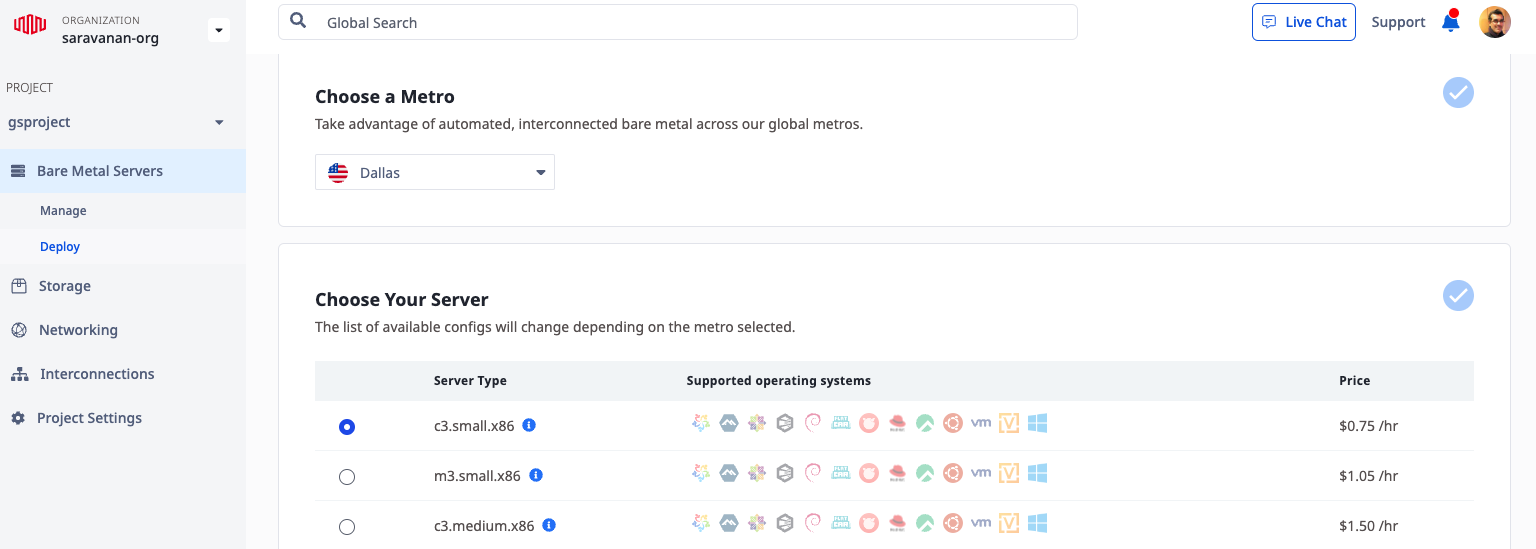
From the Equinix Metal console, choose the Bare Metal Servers menu and the Deploy option. From here, choose to deploy on-demand.
As you go through the settings, choose any metro however ensure a configuration with an x86 architecture is selected.
Now the important part. When choosing an Operating System, choose the custom_ipxe option and use the URL from the previous step. Ensure the "Always PXE" option is not enabled.
Then select the number of servers to run and give them a hostname
Under the Optional Settings, in the User data section, paste in the contents of controlplane.yaml that you generated previously, and be sure to add #!talos to the first line.
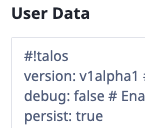
Alternatively, if you're familiar with using the Equinix CLI, you can use the command below as a template, just substitute in your own values. Be sure to add #!talos at the beginning of the controlplane.yaml file.
metal device create \
  --project-id ${PROJECT_ID} \
  --metro ${METRO} \
  --operating-system "custom_ipxe" \
  --ipxe-script-url ${IPXE_URL} \
  --plan ${PLAN} \
  --hostname ${HOSTNAME} \
  --userdata-file controlplane.yaml
Step 5: Assign the Global IP address to the Metal Server
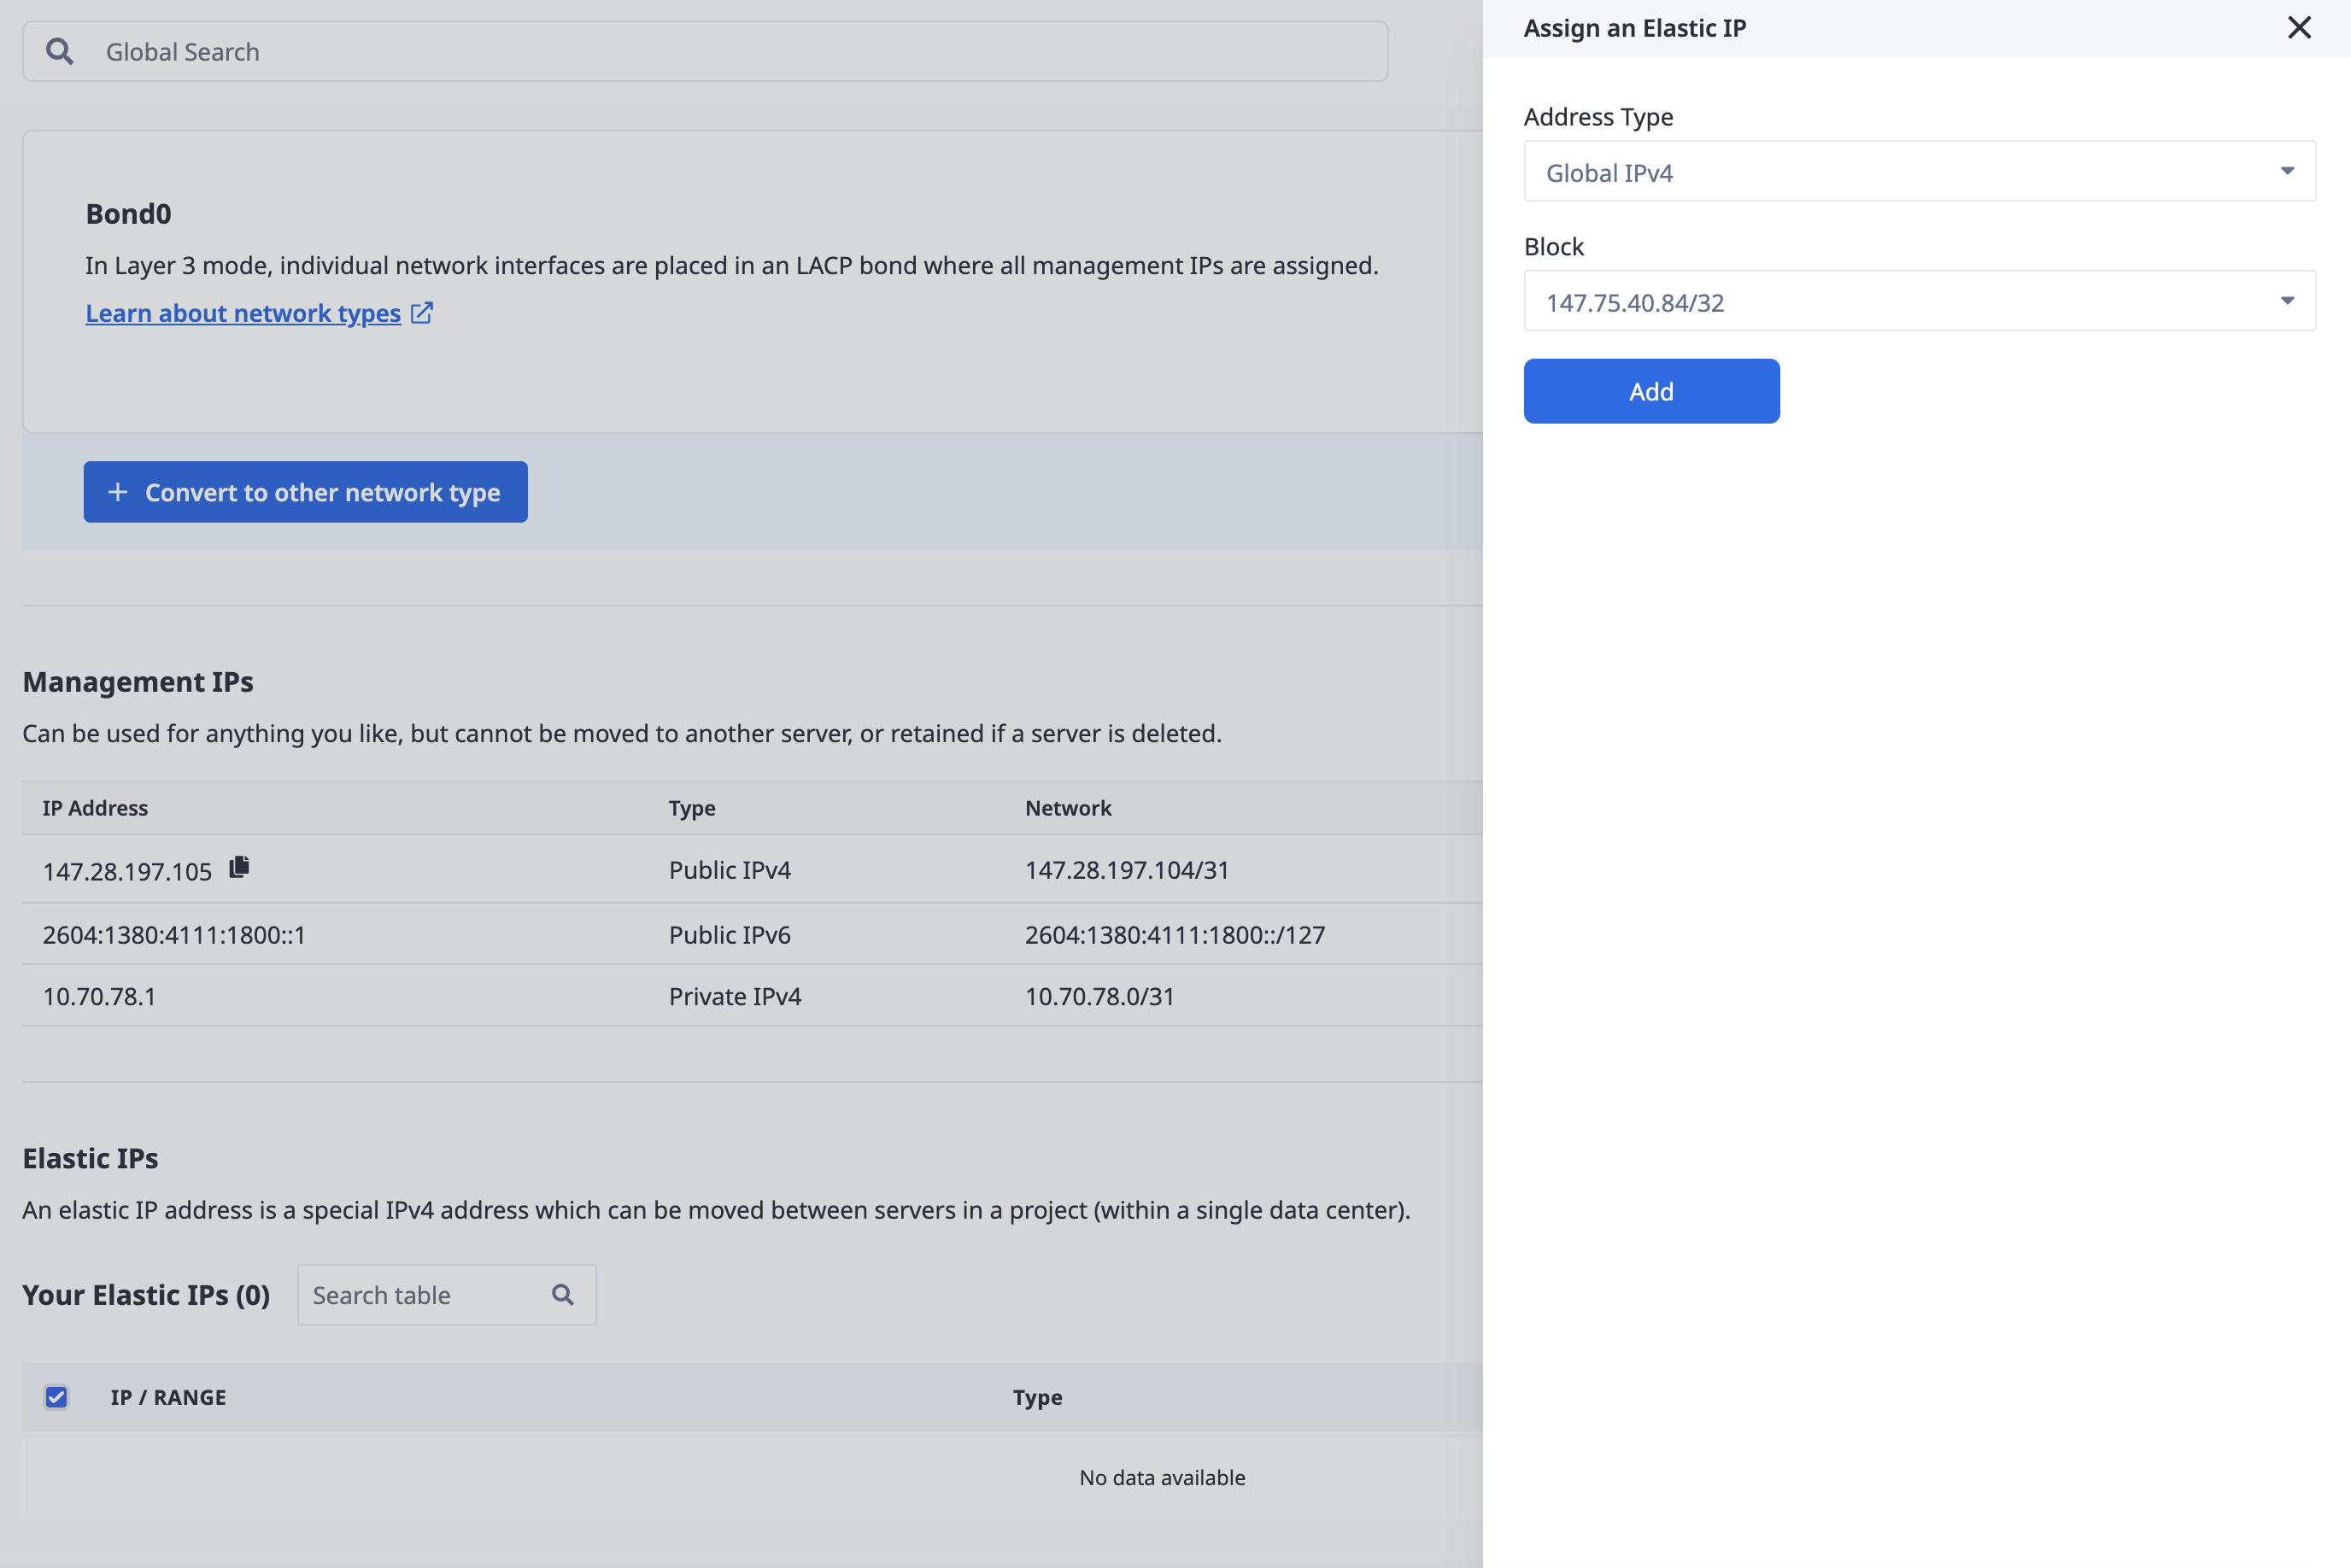
Within the console, you'll be given a list of servers. Choose the server that was provisioned in the previous step. Click on the Network tab. You'll now be able to assign the Global IP address, from the first step, to the server.
Click on Assign Elastic IP, choose the type, and the block.
Step 6: Update Talos Configs
Next, use talosctl to set the endpoints and nodes:
talosctl --talosconfig talosconfig config endpoint <Public UP Address of Server>
talosctl --talosconfig talosconfig config node <Public UP Address of Server>
Then bootstrap etcd with this command:
talosctl bootstrap
Step 7: Testing it out
Finally, to save a Kube Config file for that cluster in local directory run:
talosctl kubeconfig .
Now you can use kubectl as if it were any other Kubernetes cluster, for instance:
kubectl --kubeconfig=./kubeconfig get pods -A
Clean up
If you're done with the cluster from this guide, log in to the Equinix Metal Dashboard and destroy the instances.
Then use talosctl to remove the cluster:
talosctl cluster destroy
Conclusion
Integrating Talos with Equinix Metal forms a powerful combination that simplifies Kubernetes cluster management, enhances security, and ensures high availability and global scalability. The immutable and minimalist design of Talos, coupled with the high-performance and customizable environment provided by Equinix Metal, delivers a seamless and secure Kubernetes experience.
By harnessing the potential of Talos on Equinix Metal, organizations can optimize their infrastructure, automate cluster updates, and gain better control and visibility. Whether you're deploying new clusters or managing existing ones, this integration offers a robust foundation for resilient, scalable, and secure digital operations. It empowers businesses to innovate faster, improve agility, and drive business growth in a rapidly evolving digital landscape.
References
Last updated
05 November, 2024Category
You may also like
Dig deeper into similar topics in our archives
Crosscloud VPN with WireGuard
Learn to establish secure VPN connections across cloud environments using WireGuard, including detailed setups for site-to-site tunnels and VPN gateways with NAT on Equinix Metal, enhancing...

Kubernetes Cluster API
Learn how to provision a Kubernetes cluster with Cluster API
Kubernetes with kubeadm
Learn how to deploy Kubernetes with kubeadm using userdata

OpenStack DevStack
Use DevStack to install and test OpenStack on an Equinix Metal server.