Deploy Nutanix Kubernetes Engine
Workshop progress
Completed 0 of 31 steps
- Introduction
- Setup
- Provision a Nutanix cluster
- Access the Prism UI
- Create a Virtual Machine
- Deploy Prism Central
- Deploy Nutanix Kubernetes Engine
- Conclusion
Nutanix Kubernetes Engine (NKE) is a managed Kubernetes service that simplifies the deployment and management of Kubernetes clusters. NKE is integrated with Prism Central, so you can manage your Kubernetes clusters alongside your other Nutanix workloads.
Steps
1. Open Prism UI
Let's login to the Prism Central UI from your computer at https://localhost:19440. Note that the Prism UI ships with a self-signed TLS certificate, so most browsers will display a security warning. This security warning is unavoidable. If your browser will allow you to ignore the warning and load the site, do that; if not, try a different browser.
Step 25 of 31
2. Enable Kubernetes Engine
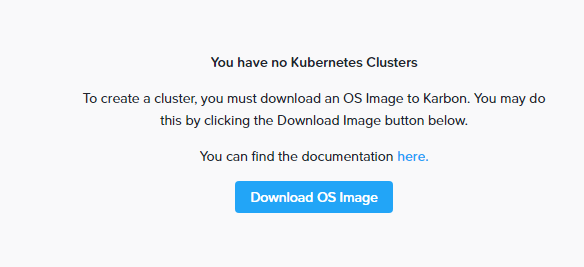
Click on the three lined menu in the upper left of the Prism Central UI and select Services -> Kubernetes. Then click Enable Karbon or Enable Kubernetes. Which one you'll see depends on the version of the Nutanix Kubernetes Engine you have installed, which we'll be updating anyway in the next step. After a while it will start up and tell you there are no kubernetes clusters. That's fine, continue on to the next step.
Step 26 of 31
3. Update the Cluster
Click on the three lined menu in the upper left of the Prism Central UI and select Administration -> LCM. Then click the Inventory tab and choose Perform Inventory. You can leave the Enable Auto Inventory checkbox unselected for now. Click Proceed.
The inventory may take a long time to complete and afterwards you will likely need to refresh the page.
Then navigate to the Updates -> Software tab.
We need to update the Nutanix Kubernetes Engine, you can also update other components like NCC while you are here.
Step 27 of 31
4. Deploy Nutanix Kubernetes Engine
Click on the three lined menu in the upper left of the Prism Central UI and select Services -> Kubernetes. Then click Download OS Image. Wait until the Download Status is Downloaded.

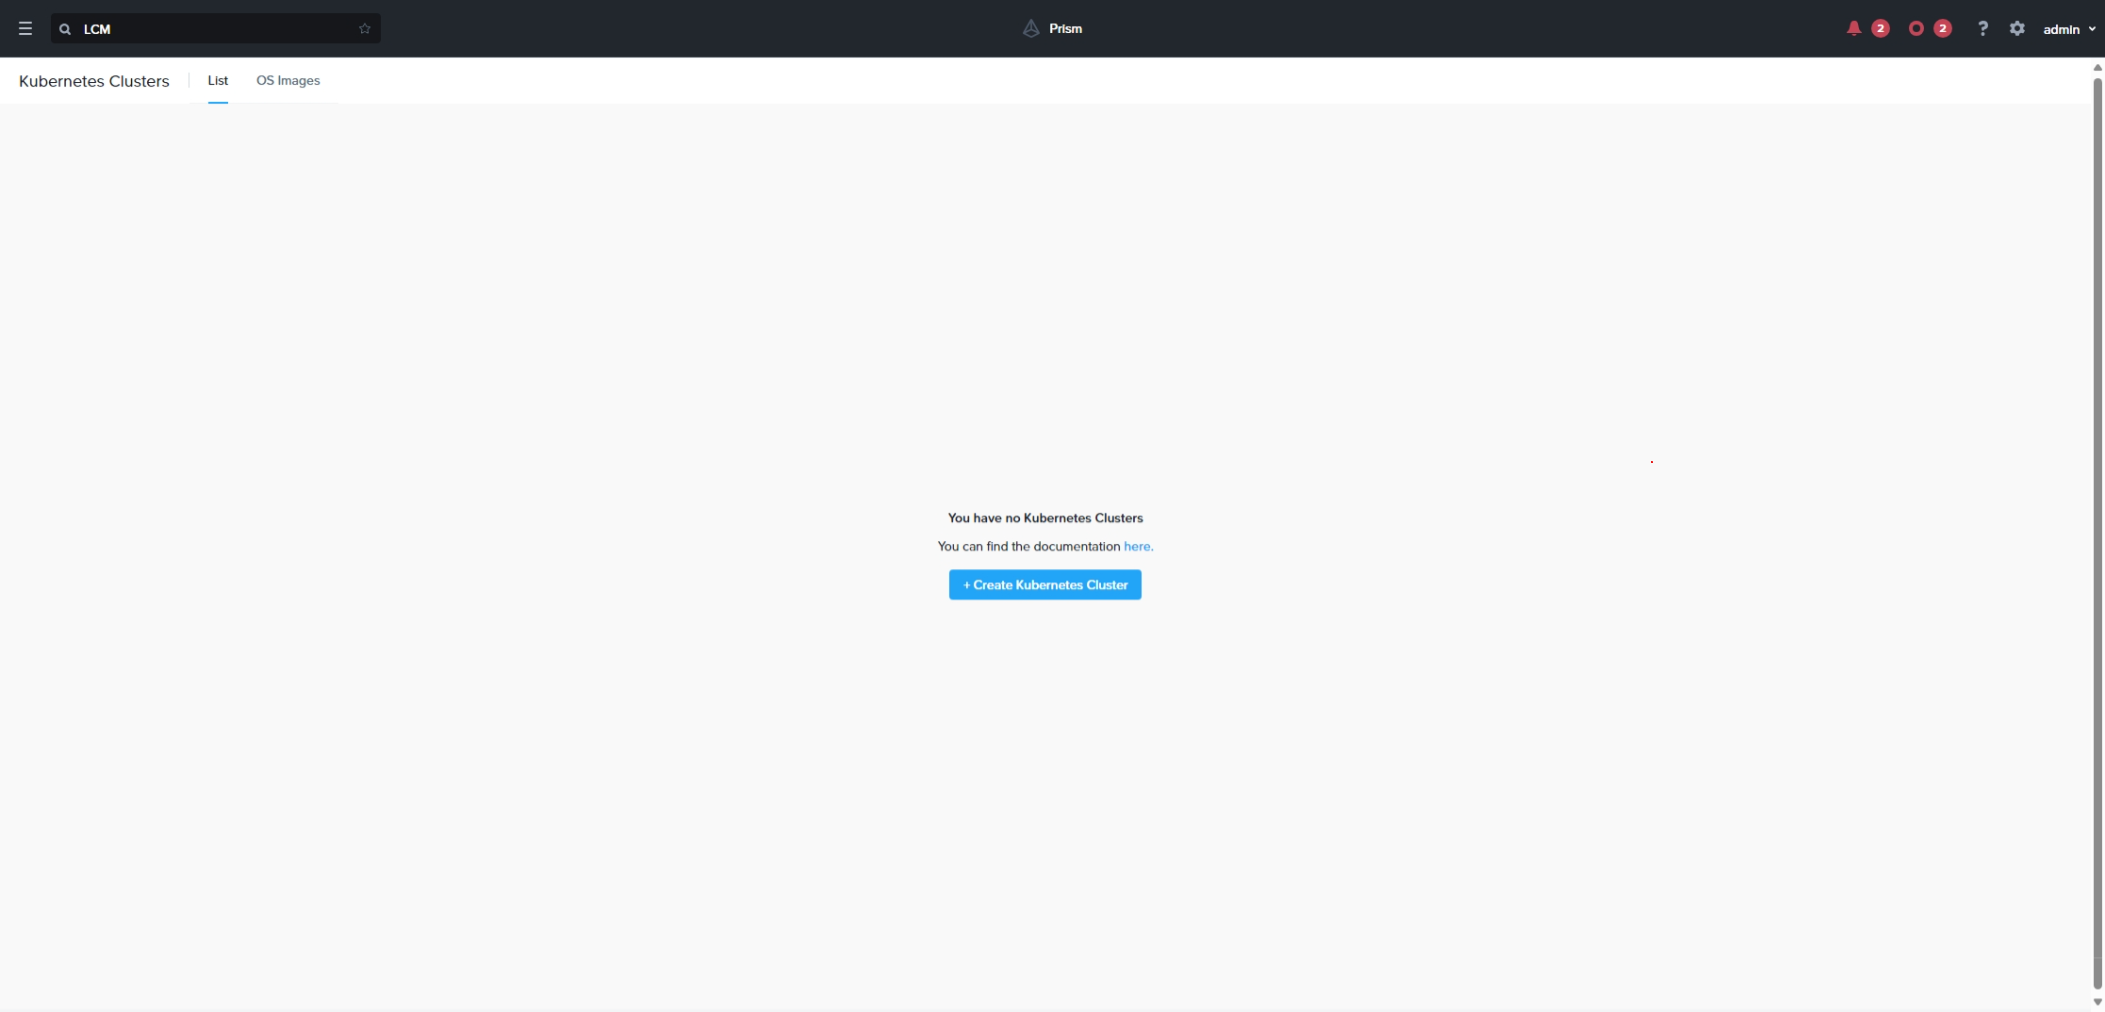
Now back to Clusters on the left and click Create Kubernetes Cluster.
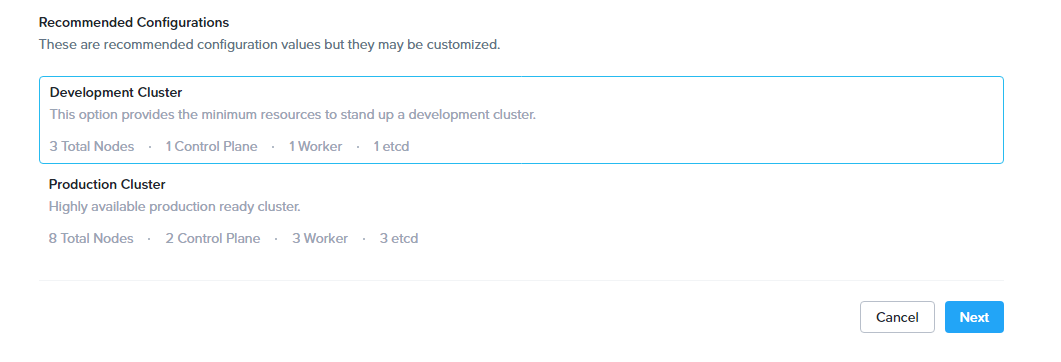
Choose Development Cluster as the type and click Next.
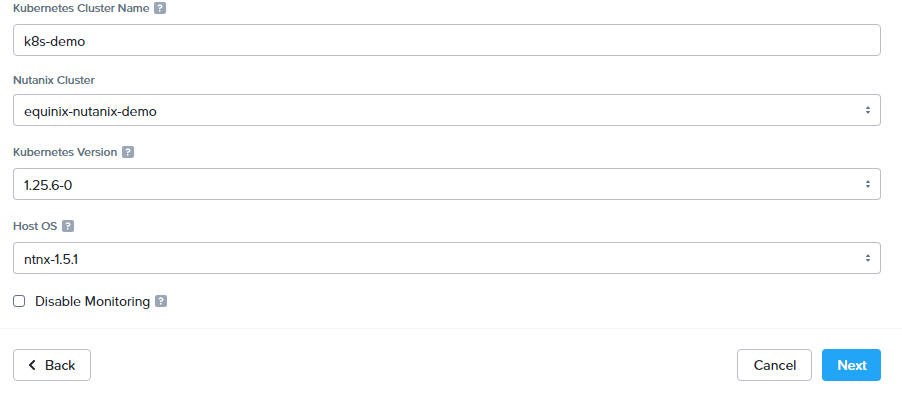
Name it k8s-demo and click Next.
Leave the Node Network as VM Network and the number of workers as 1 and click Next.
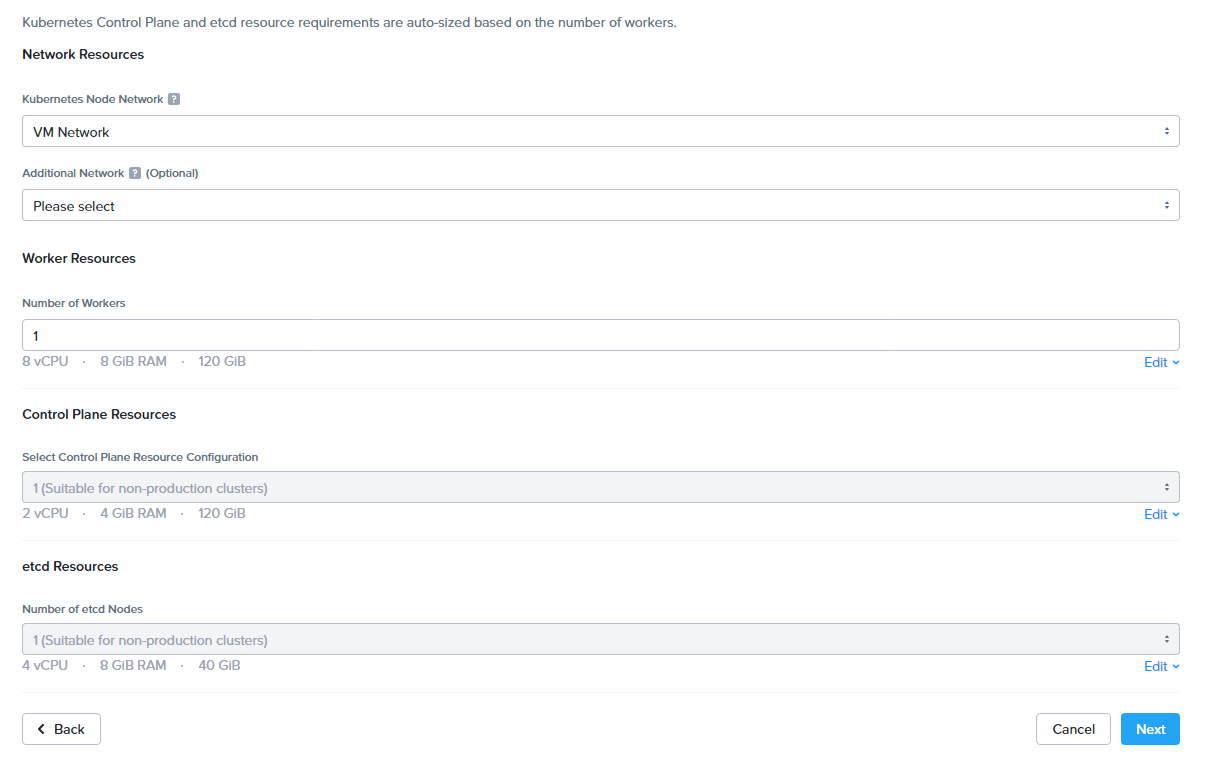
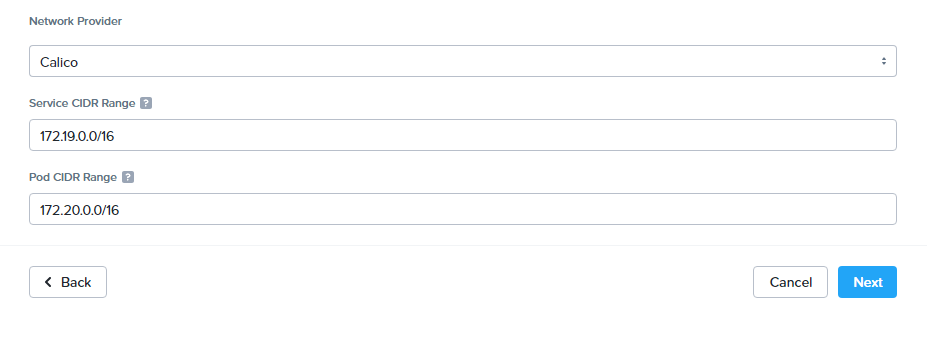
We'll use the default networking provider, so just click Next.
On the Storage Class page, leave the options as their defaults, and click Create.
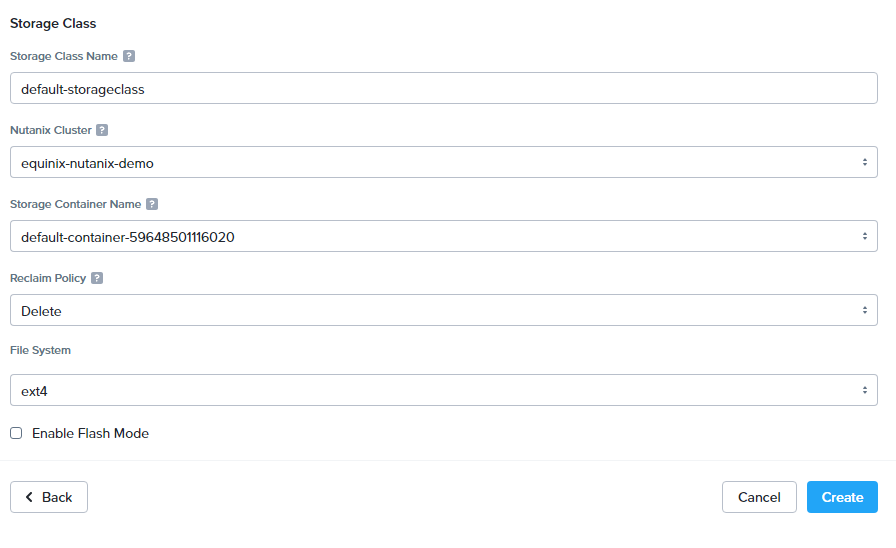
Click Create. You may need to refresh to see the cluster creation status. Now just wait for the cluster to finish deploying.
Step 28 of 31
5. Download the kubeconfig file
Congrats, you now have a kubernetes cluster on your Nutanix cluster. Download the kuberconfig file via the browser:
Transfer it to your bastion host:
scp -i $(terraform output -raw ssh_private_key) <path-to-downloads>/k8s-demo-kubectl.cfg root@$(terraform output -raw bastion_public_ip):~/kubeconfig
Step 29 of 31
6. Access the Kubernetes cluster
Now that you have the kubeconfig file on your bastion host, you can access the Kubernetes cluster from your computer. First, SSH into the bastion host:
ssh -i $(terraform output -raw ssh_private_key) root@$(terraform output -raw bastion_public_ip)
Then, set the KUBECONFIG environment variable to point to the kubeconfig file:
export KUBECONFIG=$(pwd)/kubeconfig
Install kubectl (shown here via snap):
snap install kubectl --classic
Now you can use kubectl to interact with your Kubernetes cluster:
kubectl get nodes
kubectl get pods -A
Step 30 of 31
Discussion
Before proceeding to the next part let's take a few minutes to discuss what we did. Here are some questions to start the discussion.
- What is Nutanix Kubernetes Engine?
- How does NKE integrate with Prism Central?
- What are some use cases for NKE?
- How does NKE compare to other managed Kubernetes services?
Step 31 of 31
